How do you melt white chocolate for cookies? When it comes to making cookies that are both delicious and visually appealing, white chocolate is truly a game-changer. Not only does it add a creamy sweetness that perfectly complements other ingredients, but it also brings a luxurious texture and rich flavor to your baked goods. Whether it’s used as a drizzle, a filling, or mixed directly into the dough, white chocolate elevates even the simplest cookie recipes into something extraordinary. However, working with white chocolate comes with its own set of challenges. While it may seem like just another ingredient, melting it requires a bit of finesse and know-how to avoid common pitfalls.
This is where understanding the proper techniques becomes crucial. Melting white chocolate might seem intimidating at first, but it doesn’t have to be. With the right approach and a little patience, you can achieve smooth, glossy, perfectly melted chocolate that enhances the flavor and presentation of your cookies. In this comprehensive guide, we’ll explore everything you need to know about melting white chocolate for cookies. From step-by-step instructions to creative tips and troubleshooting advice, we’ll make sure you’re well-equipped to tackle even the trickiest recipes. Whether you’re a novice baker or an experienced pro, this guide will provide you with the confidence to use white chocolate in new and exciting ways.
Why Is Melting White Chocolate So Challenging?
White chocolate is a delicate and temperamental ingredient, primarily composed of cocoa butter, milk solids, and sugar. Unlike dark or milk chocolate, it doesn’t contain cocoa solids, which means it behaves very differently when exposed to heat. Because of this, even small missteps can lead to disaster in the form of seizing, clumping, or burning. In fact, just a few extra seconds of heat can transform creamy white chocolate into an unusable mess.
In addition to its sensitivity, white chocolate has a lower melting point than other types of chocolate. For this reason, it requires careful attention to temperature and technique. Overheating it can result in a gritty or chalky texture, while exposure to even the tiniest amount of water can cause it to seize. This makes understanding its unique properties essential for successful melting.
If you’re looking for inspiration on how to incorporate melted white chocolate into your baking, consider exploring our Strawberry White Chocolate Cookies recipe. This delightful recipe highlights the versatility of white chocolate in creating cookies that are both rich in flavor and visually stunning. By mastering the art of melting white chocolate, you’ll be able to create desserts that truly stand out.
How Do You Melt White Chocolate for Cookies?
To melt white chocolate successfully, it’s crucial to use gentle heat and the correct techniques. Unlike other types of chocolate, white chocolate is much more delicate and requires extra care during the melting process. The key lies in low, controlled heat and constant attention to ensure it doesn’t seize or burn. Below, we’ll outline two primary methods for melting white chocolate, each with its own set of advantages. In addition, we’ll share helpful tips to guarantee smooth, creamy results every time.
Whether you’re preparing a drizzle for cookies, incorporating melted chocolate into dough, or using it as a dip, getting the melting process right is essential. For instance, starting with high-quality chocolate and using the appropriate tools will save you time and frustration. The methods below, paired with practical advice, will ensure your cookies not only taste amazing but also look professionally made.
Choose the Best Melt White Chocolate for
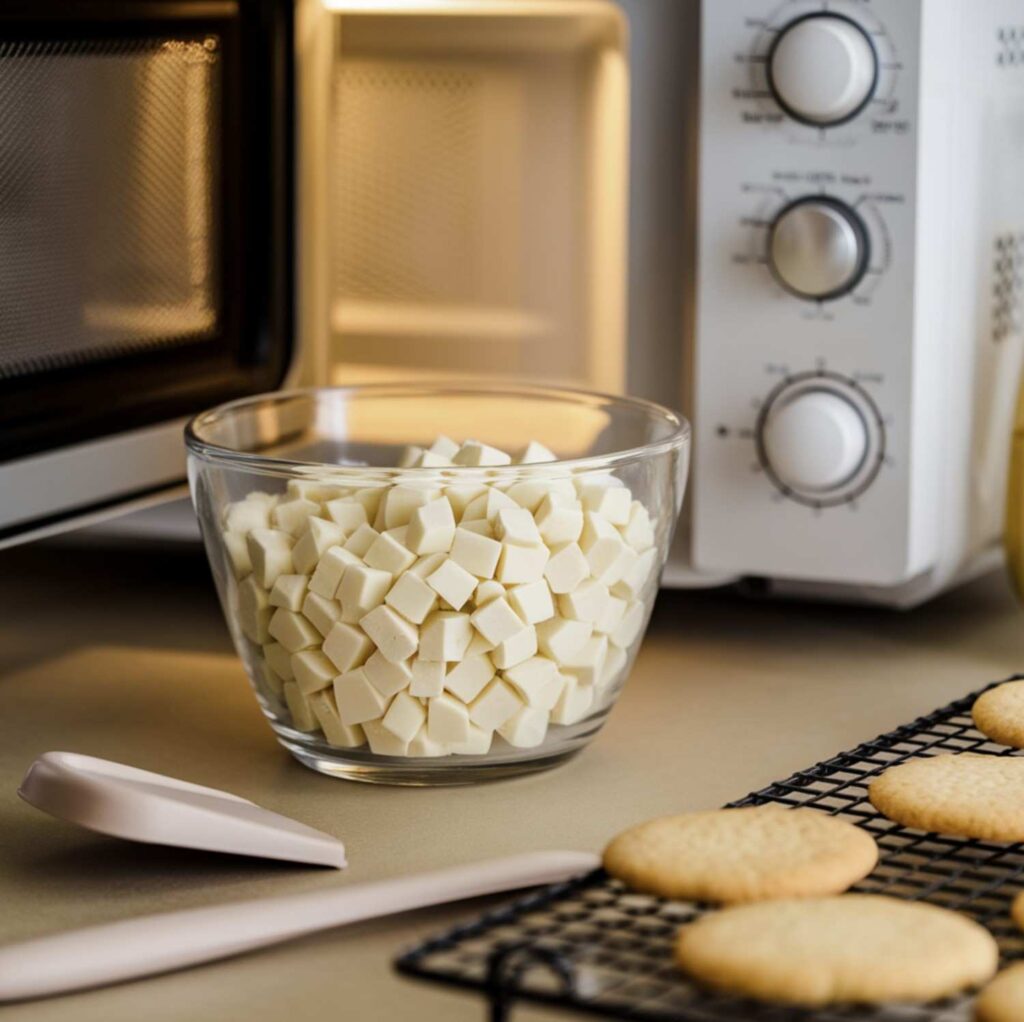
The first and most important step in melting white chocolate is choosing the right product. Not all white chocolate is created equal, and your choice will greatly influence the outcome. For example, high-quality baking white chocolate brands like Ghirardelli, Callebaut, or Valrhona are formulated to melt smoothly and evenly. These options typically contain at least 20% cocoa butter, which contributes to their creamy texture and rich flavor when melted.
On the other hand, lower-quality white chocolate or “melts” are often made with vegetable fats instead of cocoa butter. As a result, they may not melt as smoothly and can have a waxy taste. While they might seem like a convenient choice, especially for beginners, they lack the depth of flavor that real white chocolate offers. Always check the ingredients list when buying white chocolate; the higher the cocoa butter content, the better the melting and flavor experience.
Additionally, avoid using white chocolate chips unless they’re specifically labeled for baking or melting. These chips are often coated with stabilizers to maintain their shape during baking, which can hinder the melting process. In short, investing in high-quality white chocolate is a step worth taking for the best results.
Tools You Will Need for melt white chocolate for cookies
Before you begin melting white chocolate, it’s essential to have the right tools on hand. Proper preparation makes the process much smoother and reduces the risk of errors. You’ll need:
- A heatproof glass or metal bowl: This is crucial for both the double boiler and microwave methods, as it can handle the heat without breaking or warping.
- A saucepan for the double boiler method: Ensure it’s the right size to securely hold your heatproof bowl without letting it touch the water.
- A microwave-safe bowl: If you’re using the microwave method, choose a bowl that distributes heat evenly and can withstand multiple heating cycles.
- A silicone spatula: A flexible spatula is perfect for stirring melted chocolate. It prevents sticking and helps scrape every last bit of chocolate from the bowl.
In addition, ensure that all your tools are completely dry before use. Even a single drop of water can cause the chocolate to seize, turning it into a thick, grainy mess. This is especially important when using the double boiler method, as condensation from the steam can drip into your bowl.
Finally, consider using a digital thermometer if you want to be extra precise. White chocolate melts best between 104°F and 113°F (40°C to 45°C). For instance, staying within this range will help prevent overheating, which is one of the most common causes of burnt chocolate. By gathering the right tools and preparing them carefully, you’ll set yourself up for success.
Tips for Avoiding Common Melting Mistakes
Melt white chocolate for cookies can be a delicate process, but with the right approach, you can avoid many common mistakes. For instance, one of the most important tips is to keep all your tools and equipment completely dry. Even a single drop of water can cause the chocolate to seize, which means it will become clumpy and unusable. Therefore, always ensure your bowls, spatulas, and hands are moisture-free before starting.
Another crucial point is to use low heat. White chocolate burns much faster than dark or milk chocolate because of its lower melting point. As a result, it’s vital to melt it slowly over gentle heat, whether you’re using a double boiler or microwave method. High temperatures will cause the chocolate to scorch, leaving an unpleasant taste and texture.
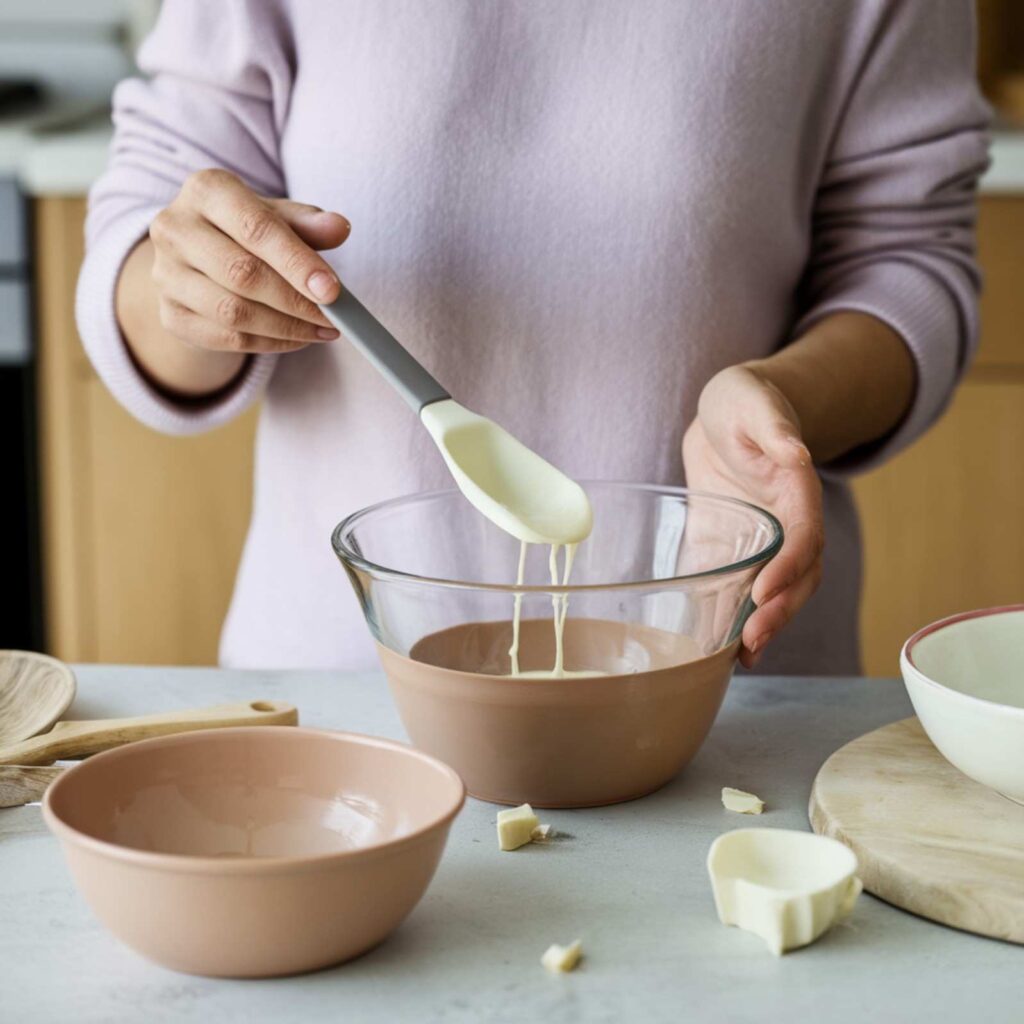
Stirring regularly is also essential. When you stir the chocolate, it helps distribute the heat evenly, preventing clumps and ensuring a silky texture. In addition, stirring allows you to monitor its progress and remove it from the heat at the right time.
Moreover, never leave the chocolate unattended. For example, stepping away even for a minute can lead to overheating, which will ruin your batch. Melting chocolate is a process that requires constant attention and patience to achieve smooth, lump-free results.
Incorporating Melted White Chocolate Into Cookies
Perfectly melt white chocolate for cookies can transform your cookie recipes. Once you’ve achieved a smooth, velvety texture, let the chocolate cool slightly before adding it to your cookie dough. Because of this, it won’t accidentally cook the eggs or alter the consistency of the batter. Cooling ensures that the chocolate incorporates seamlessly into the mixture, enhancing the flavor and texture of your cookies without compromising their structure.
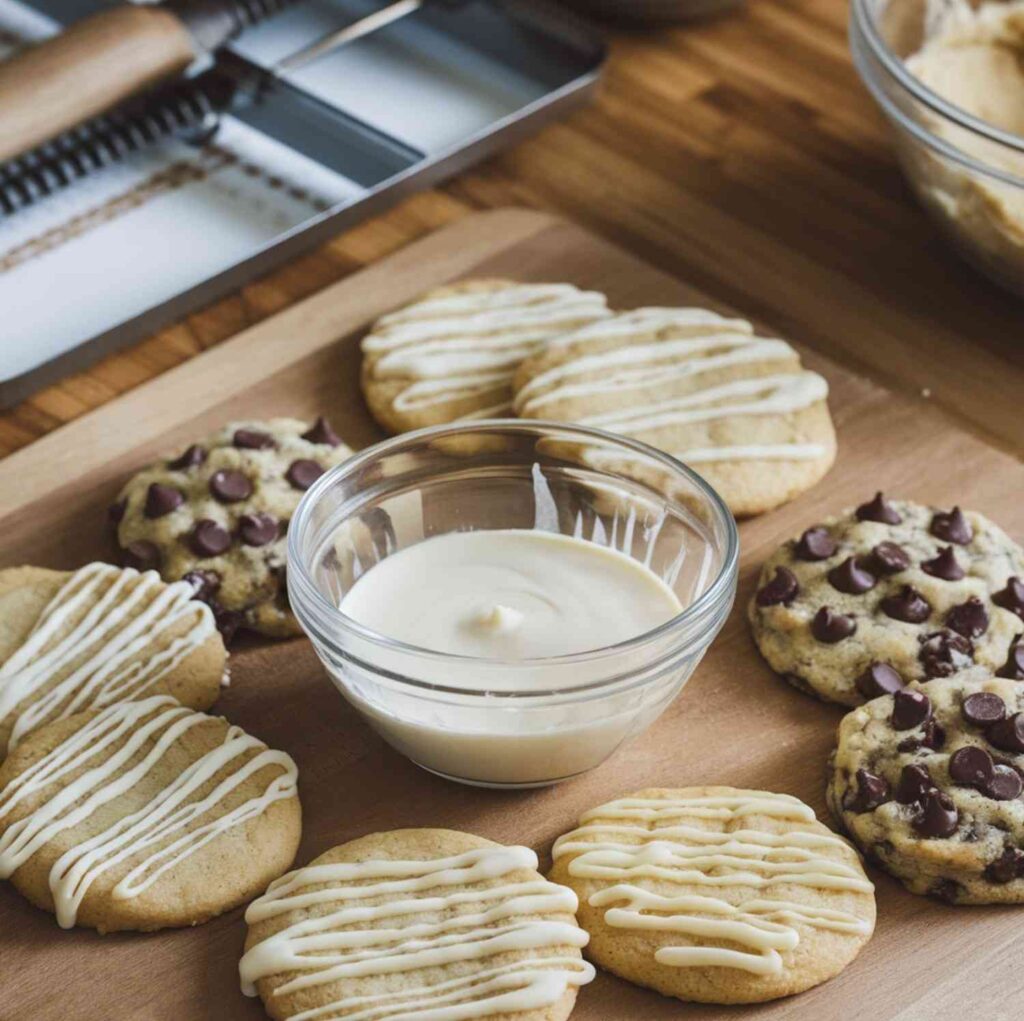
In addition, melted white chocolate is fantastic for decorating baked cookies. For example, you can drizzle it artistically over cooled cookies to add a sweet, creamy topping. This method works particularly well for sugar cookies, oatmeal cookies, or even chocolate chip cookies.
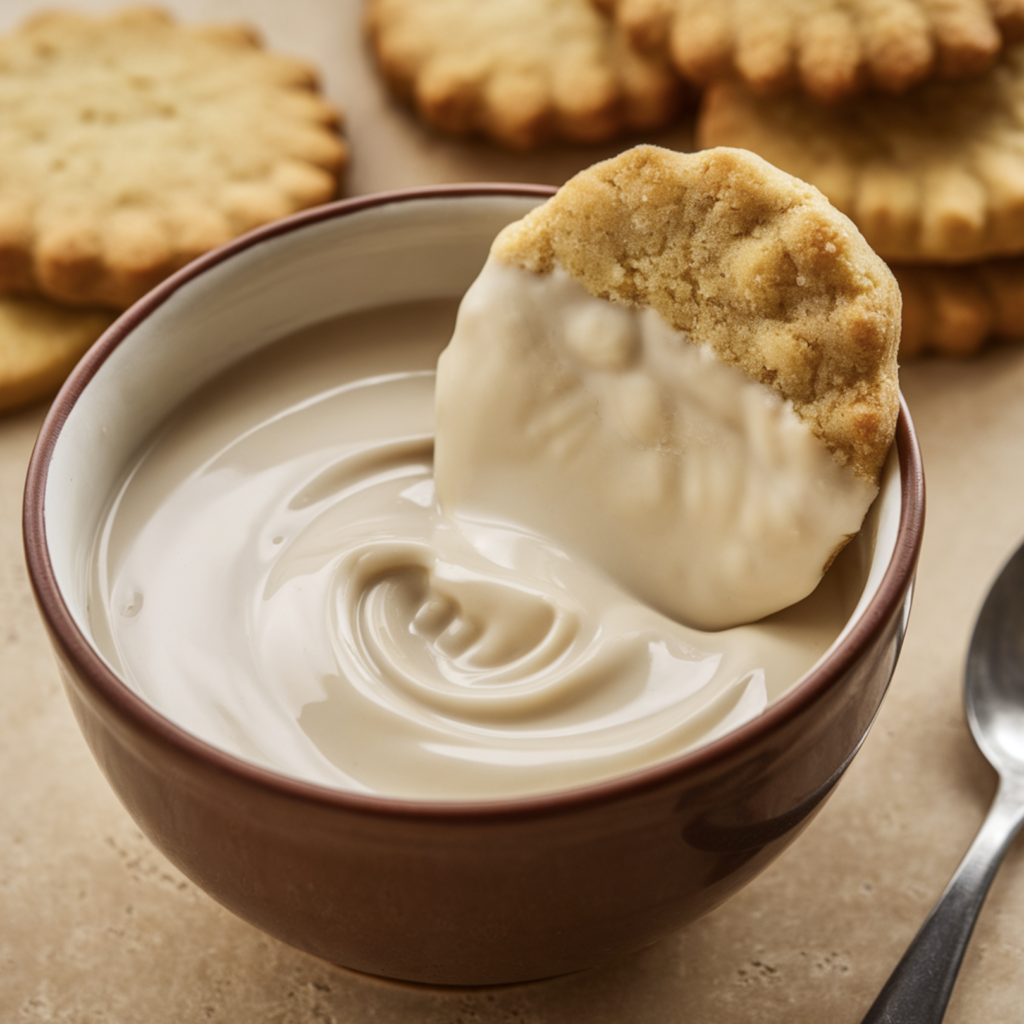
Moreover, melted white chocolate can be used as a dip for cookies. Simply dip half of each cookie into the chocolate and allow it to set for a visually appealing finish. For added flair, sprinkle crushed nuts, coconut flakes, or colorful sprinkles onto the chocolate before it hardens. This not only boosts the flavor but also creates cookies that look bakery-quality.
Creative Ways to Use Melted White Chocolate in Cookies
melt white chocolate for cookies opens the door to endless creativity in cookie-making. For instance, drizzling white chocolate over cookies is a simple yet elegant way to add flavor and texture. This technique works well with shortbread cookies, sugar cookies, or even spiced ginger cookies, giving them a professional, polished look.
Another idea is to use melted white chocolate as a coating. Dipping half of a cookie into the chocolate creates a visually striking treat. Moreover, you can enhance the dipped cookies by topping them with crushed nuts, freeze-dried fruits, or sprinkles for added flavor and crunch.
Swirling white chocolate into cookie dough is another fun option. For example, adding melted chocolate in ribbons to brownie or sugar cookie dough creates a marbled effect that’s as beautiful as it is delicious.
In addition, white chocolate pairs beautifully with other flavors. Try mixing it with caramel, peppermint, or raspberry to create unique cookie combinations. Similarly, you can combine white chocolate with seasonal ingredients, like pumpkin spice or cranberry, for festive treats.
Above all, these ideas show how versatile melted white chocolate can be in cookie recipes. It’s not just a flavor booster but also a decorative element that can make your cookies stand out.
Frequently Asked Questions
How to make cookies in 7 steps?
Making cookies in 7 steps is simple: Preheat the oven, mix dry ingredients, cream butter and sugar, add eggs and vanilla, combine wet and dry ingredients, fold in mix-ins like white chocolate chips, scoop onto a baking sheet, and bake until golden. For detailed instructions, visit this recipe: How to Make Cookies in 7 Steps.
What is a strawberry cookie made of?
Strawberry cookies are made with flour, butter, sugar, and white chocolate, often paired with fresh or freeze-dried strawberries for a rich fruity flavor. For more details, visit What Is a Strawberry Cookie Made Of?.
How to make strawberry white chocolate cookies?
To make strawberry white chocolate cookies, combine freeze-dried strawberries with flour, butter, sugar, and white chocolate for a unique fruity twist. For a detailed recipe, visit Strawberry White Chocolate Cookies.
Does white chocolate harden after melting?
Yes, melted white chocolate hardens as it cools, making it perfect for decorations, drizzles, or coatings.
What is the best melting chocolate for cookies?
Ghirardelli, Callebaut, and Valrhona are great choices for smooth melting and rich flavor in baking.
How to use freeze-dried strawberries in baking?
Crush freeze-dried strawberries into a powder and mix them into your dough for concentrated flavor without added moisture.
Conclusion
Mastering how to melt white chocolate for cookies is an essential skill for any baker. In short, using the right techniques and tools ensures success every time. Whether you’re drizzling, dipping, or folding white chocolate into cookie dough, following these tips will elevate your creations to a professional level. For more creative ways to use white chocolate, check out these inspiring recipes like Strawberry White Chocolate Cookies from Pinch of Yum or the delightful Strawberries and Cream Cookies from Scientifically Sweet. In conclusion, with a bit of practice and patience, you’ll enjoy perfectly melted white chocolate that enhances both the taste and appearance of your cookies.
