There’s something truly magical about that first bite of perfectly tangy, impossibly creamy Key Lime Pie Bars – a sensation that instantly transports me back to my grandmother’s sun-drenched kitchen, filled with the scent of citrus and cherished memories. I vividly recall watching her meticulously zest limes, her fingers vibrant green from the essential oils, creating what felt like pure sunshine in a pie, the star of our family gatherings.
While I adored her classic pie, I always longed for a way to capture that zesty charm in a more approachable, easy-to-share format. This yearning sparked my own culinary adventure, and after countless kitchen experiments (and a few hilarious fails where the filling refused to set!), I finally cracked the code to what I proudly present as the BEST Key Lime Pie Bars. This recipe perfectly captures all that nostalgic flavor and creamy indulgence, wonderfully approachable for any home cook, and stands strong even alongside other beloved variations you might find on sites like Bakemode.
It’s my way of keeping her spirit alive in my kitchen, sharing a piece of that sunshine with you, much like I share other vibrant citrus treats such as my popular Lavender Lemon Bars recipe. Get ready for an easy-to-share, impossible-to-resist dessert that brings the magic of summer right to your fingertips!
Unlocking the Perfect Graham Cracker Crust for Your Key Lime Pie Bars
Key Lime Pie Bars truly begin with their foundation: the crust. Achieving that perfect balance of buttery, crumbly, yet sturdy is essential. I remember one early attempt where my crust either disintegrated or overpowered the delicate lime filling. The secret isn’t just in the ratio of graham cracker crumbs to melted butter, but in how you press it down. Think of it like building a little fortress for your filling. We want a golden-brown, slightly sweet base that provides the perfect textural contrast. This simple step sets the stage for the amazing Key Lime Pie Bars you’re about to create, and with a little patience, it’s a small victory that makes all the difference.
The Zesty Secret to Irresistible Key Lime Pie Bars Filling
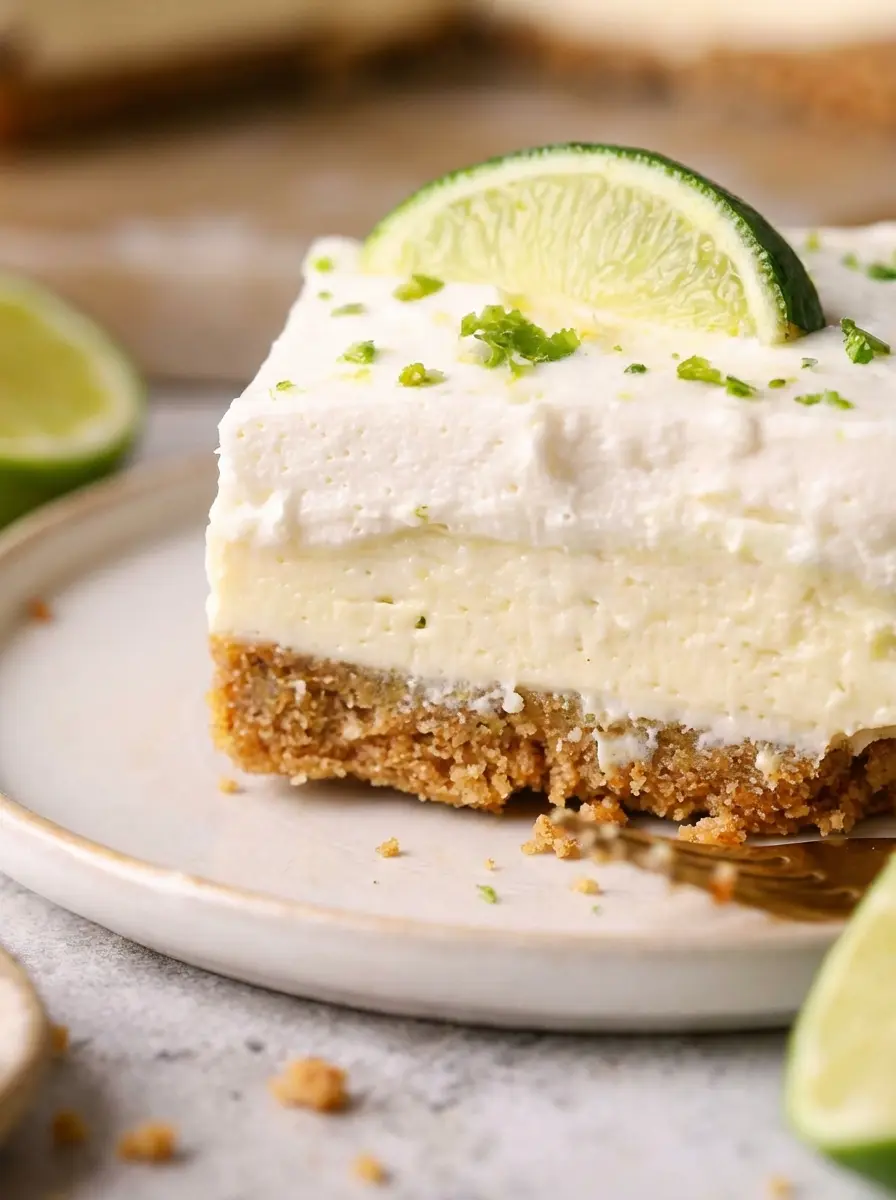
Ah, the heart of our Key Lime Pie Bars: the filling! This is where the magic truly happens, where that incredible tangy-sweet symphony comes alive. For years, I struggled to get the right balance – sometimes too tart, sometimes too bland, or it just wouldn’t set. The key, my friends, lies in the quality of your key lime juice and, crucially, the zest. Don’t skip the zest! It infuses so much more vibrant, aromatic lime flavor than juice alone. Combined with sweetened condensed milk for sweetness and luscious creaminess, and a touch of egg yolks for structure, you get a filling that’s pure sunshine.
This vibrant hue and intoxicating aroma truly give these Key Lime Pie Bars their unmistakable Taste Charm.
Baking and Chilling: The Key to Setting Up Your Key Lime Pie Bars Perfectly
Once your vibrant filling is nestled into its graham cracker bed, the baking and chilling process for Key Lime Pie Bars becomes paramount. This is often where people get nervous, wondering if their creation will actually set into a firm, sliceable bar. The baking step is brief, just enough to gently warm and firm the filling, but not to brown it. Overbaking can lead to a rubbery texture, a mistake I learned the hard way! The true hero of setting is the chilling. It might feel like an eternity, but those hours in the refrigerator are absolutely non-negotiable for achieving that perfectly firm yet creamy texture.
This patience pays off, transforming your liquid gold into magnificent Key Lime Pie Bars that hold their shape beautifully.
Whipped Cream Wonders: Elevating Your Key Lime Pie Bars
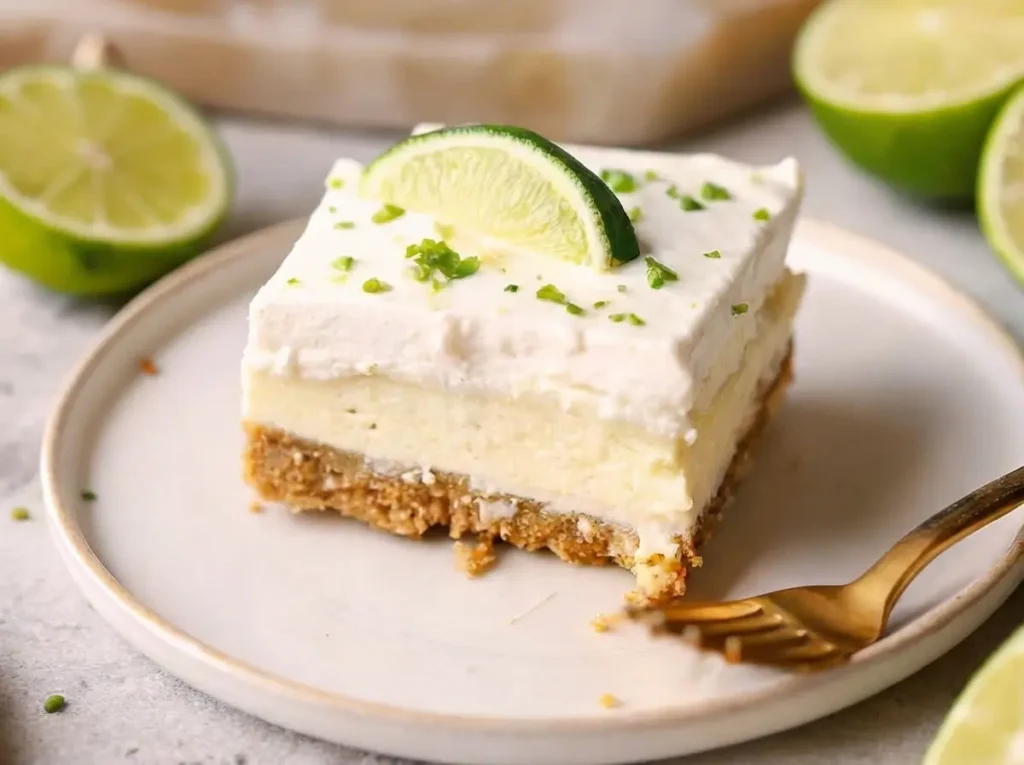
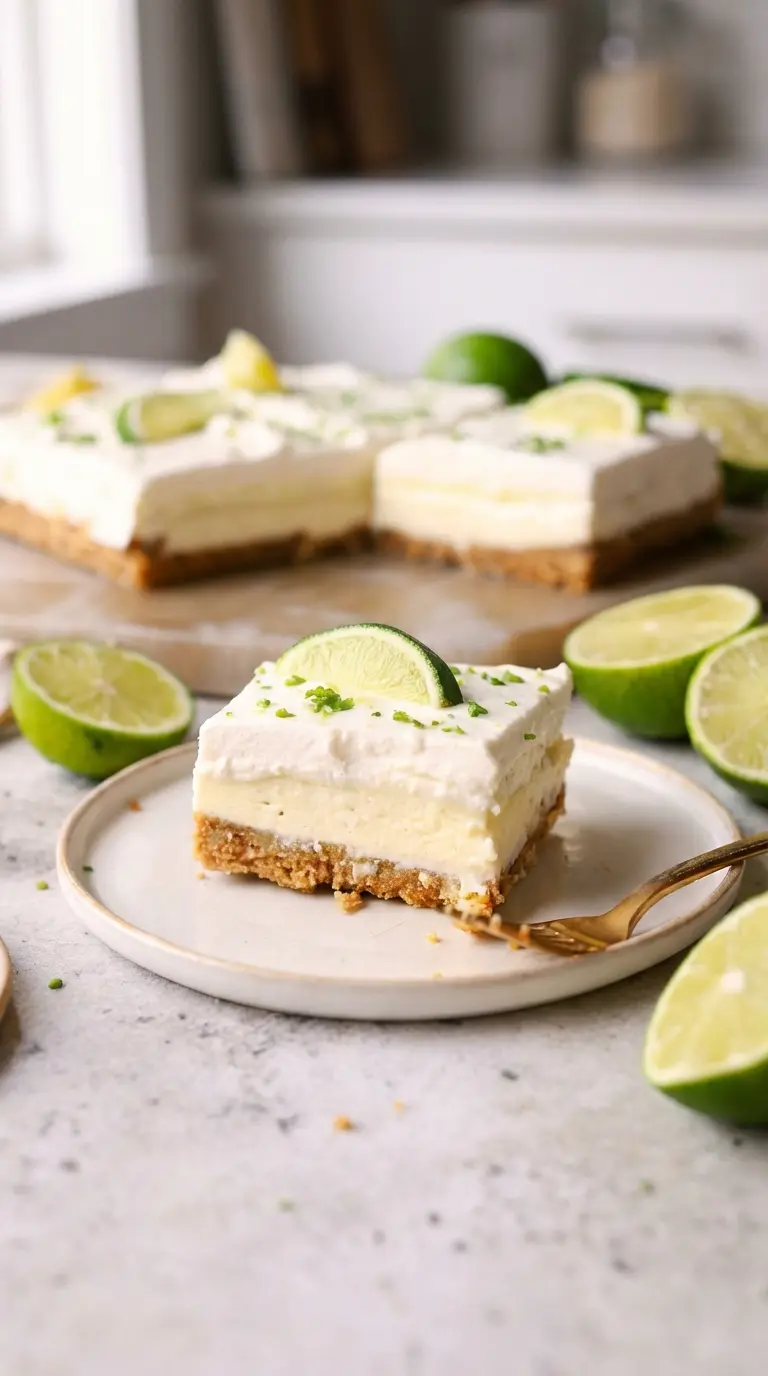
No Key Lime Pie Bars are truly complete without a crown of fluffy, homemade whipped cream. While store-bought works, there’s an unparalleled freshness and lightness to whipping your own. It adds a delightful contrast to the tartness of the lime, a sweet, airy cloud that melts in your mouth. I love to lightly sweeten mine with a hint of vanilla, creating an almost ethereal topping. When I first started baking, I’d sometimes over-whip it into butter, but now I know the cues for perfectly soft peaks. This delicate, creamy layer doesn’t just look beautiful; it’s an integral part of the overall experience, giving our Key Lime Pie Bars that signature Taste Charm finish and making each bite pure bliss.
Serving and Storing Your Delicious Key Lime Pie Bars
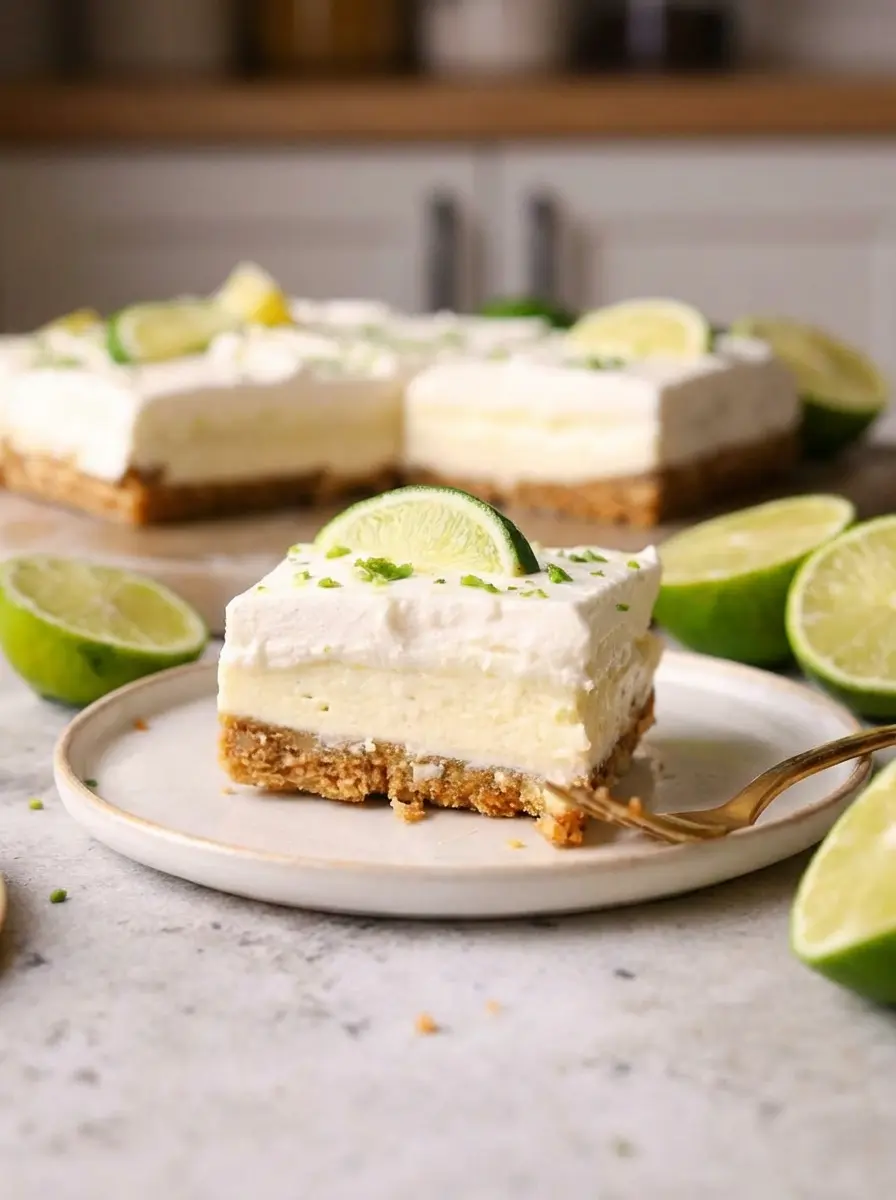
The moment of truth! After all your efforts, it’s time to slice and serve your magnificent Key Lime Pie Bars. A sharp knife, run under hot water and wiped clean between each cut, is your best friend for achieving those pristine, clean edges that impress. Garnish with a little extra lime zest or a delicate lime slice for that final flourish – because we eat with our eyes first, right? For storage, these bars are surprisingly robust. Keep them tightly covered in the refrigerator, and they’ll maintain their incredible flavor and texture for several days.
But honestly, I doubt they’ll last that long! These Key Lime Pie Bars are a celebrated victory in my kitchen, and I’m sure they’ll be one in yours too. Now, let’s bring this memory to your kitchen…
Our Secret to the BEST Key Lime Pie Bars: A Taste of Sunshine!
Course: BreakfastCuisine: AmericanDifficulty: 35/1004
servings30
minutes40
minutes300
kcalBright, tangy, and irresistibly creamy Key Lime Pie Bars with a perfect graham cracker crust and a dreamy whipped topping.
Ingredients
1 ½ cups graham cracker crumbs (about 10-12 full graham cracker sheets)
¼ cup granulated sugar
½ cup unsalted butter, melted
4 large egg yolks
1 (14-ounce) can sweetened condensed milk
½ cup fresh key lime juice (from about 8-10 key limes)
1 tablespoon key lime zest (plus more for garnish)
1 cup heavy cream, chilled
2 tablespoons powdered sugar
½ teaspoon vanilla extract
Thin lime slices, for garnish (optional)
Directions
- Preheat oven to 350°F (175°C). Line an 8×8 inch baking pan with parchment paper, leaving an overhang on two sides for easy removal.
- In a medium bowl, combine graham cracker crumbs, granulated sugar, and melted butter until well mixed.
- Press the crumb mixture evenly and firmly into the bottom of the prepared baking pan. Bake for 10 minutes, then remove from oven and let cool slightly.
- In a separate bowl, whisk together the egg yolks until light yellow. Gradually whisk in the sweetened condensed milk, then the key lime juice and key lime zest until smooth.
- Pour the key lime filling over the cooled crust. Return the pan to the oven and bake for 15-18 minutes, or until the center is just set with a slight jiggle.
- Remove from oven and let cool completely on a wire rack. Once cool, transfer to the refrigerator and chill for at least 4 hours, or preferably overnight, to allow the bars to fully set.
- Once chilled, prepare the whipped cream: In a large bowl, using an electric mixer, beat the cold heavy cream, powdered sugar, and vanilla extract on high speed until stiff peaks form.
- Carefully lift the bars out of the pan using the parchment paper overhang. Spread the whipped cream evenly over the top of the chilled bars.
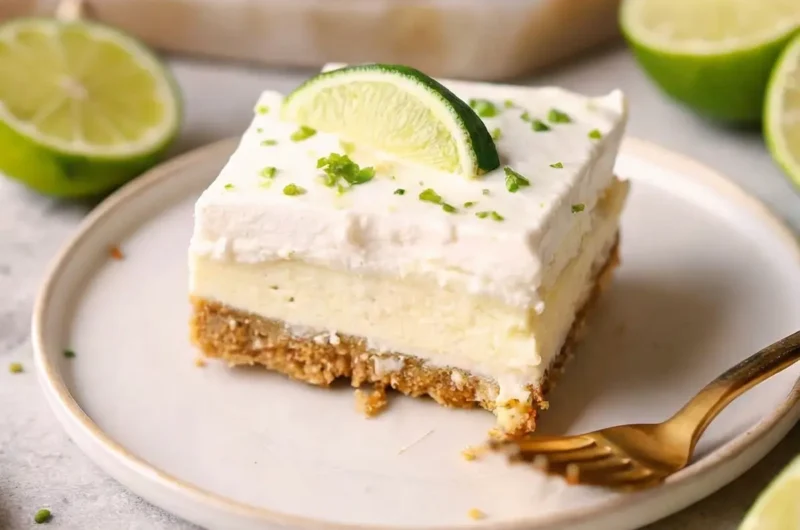
- Slice into 12 squares. Garnish each Key Lime Pie Bar with extra lime zest and a thin lime slice, if desired. Serve immediately or store in the refrigerator.
Notes
- For best results, use freshly squeezed key lime juice and fresh zest. Bottled juice can be used but may lack the vibrant flavor.
- Ensure the bars are thoroughly chilled before attempting to slice them. This prevents crumbling and ensures clean cuts.
- To get clean slices, use a sharp knife and wipe it clean with a hot, damp cloth between each cut.
- Leftover Key Lime Pie Bars can be stored in an airtight container in the refrigerator for up to 3-4 days.