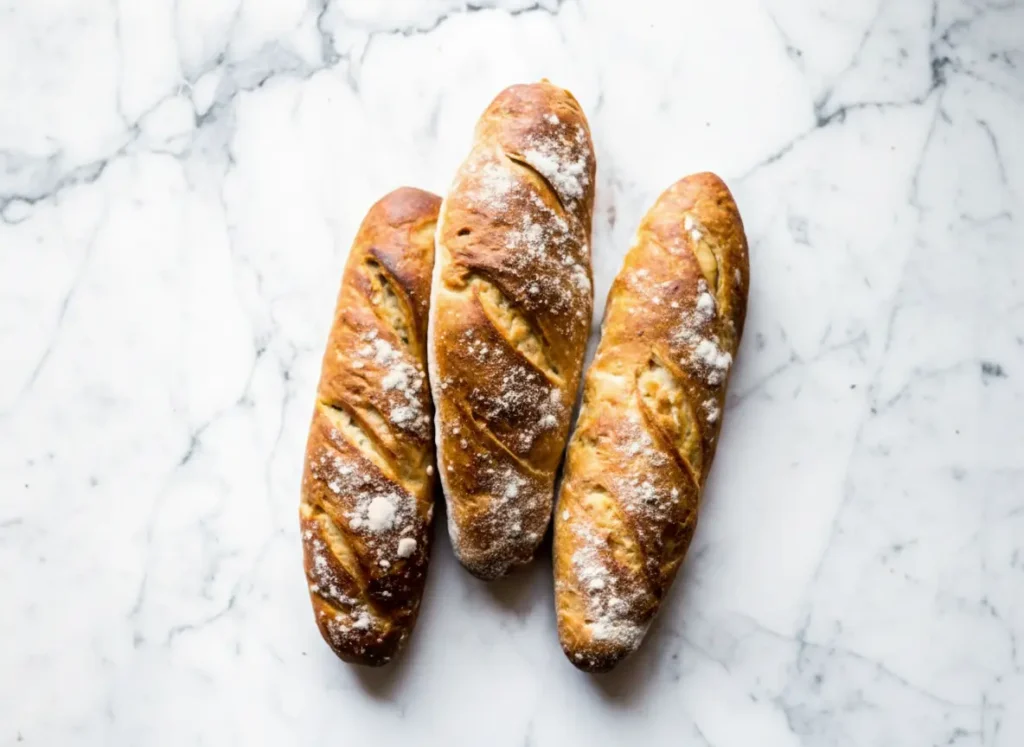
For years, the phrase Artisan Bread Recipe (4 Ingredients) used to fill me with a mix of awe and a healthy dose of intimidation. Truly beautiful, crusty bread with that perfect open crumb felt like a secret whispered only among professional bakers, far removed from my own kitchen, and my first attempts often resulted in loaves that had character, yes, but definitely not the airy texture or radiant ‘Taste Charm’ I so desperately craved.
Yet, the dream of pulling a perfectly rustic, golden loaf from my own oven kept calling to me, fueling a persistent journey through many tries, a few minor flour explosions, and countless moments of kitchen ‘real talk.’ It was through this persistence that I eventually stumbled upon a truly magical revelation: an incredible homemade artisan bread didn’t require complex techniques, but rather the elegant simplicity of just four humble ingredients, a little patience, and a whole lot of love.
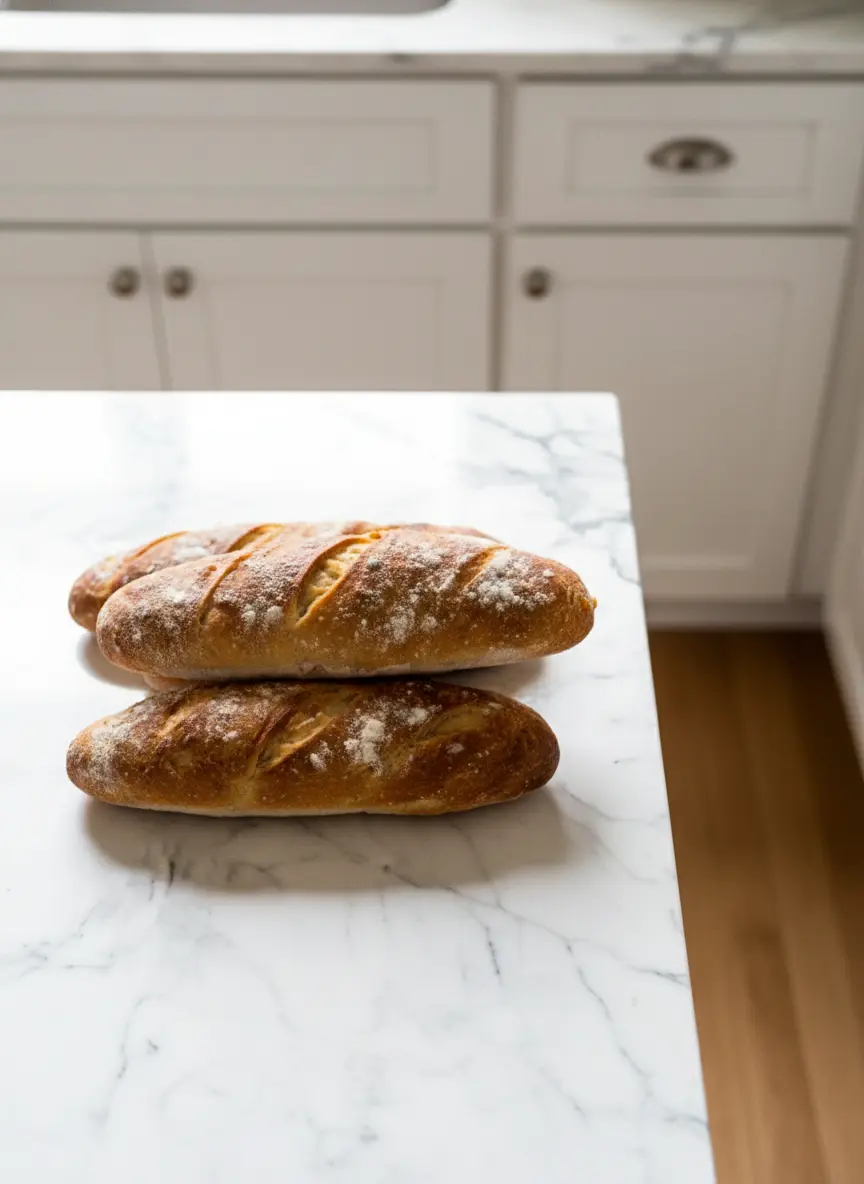
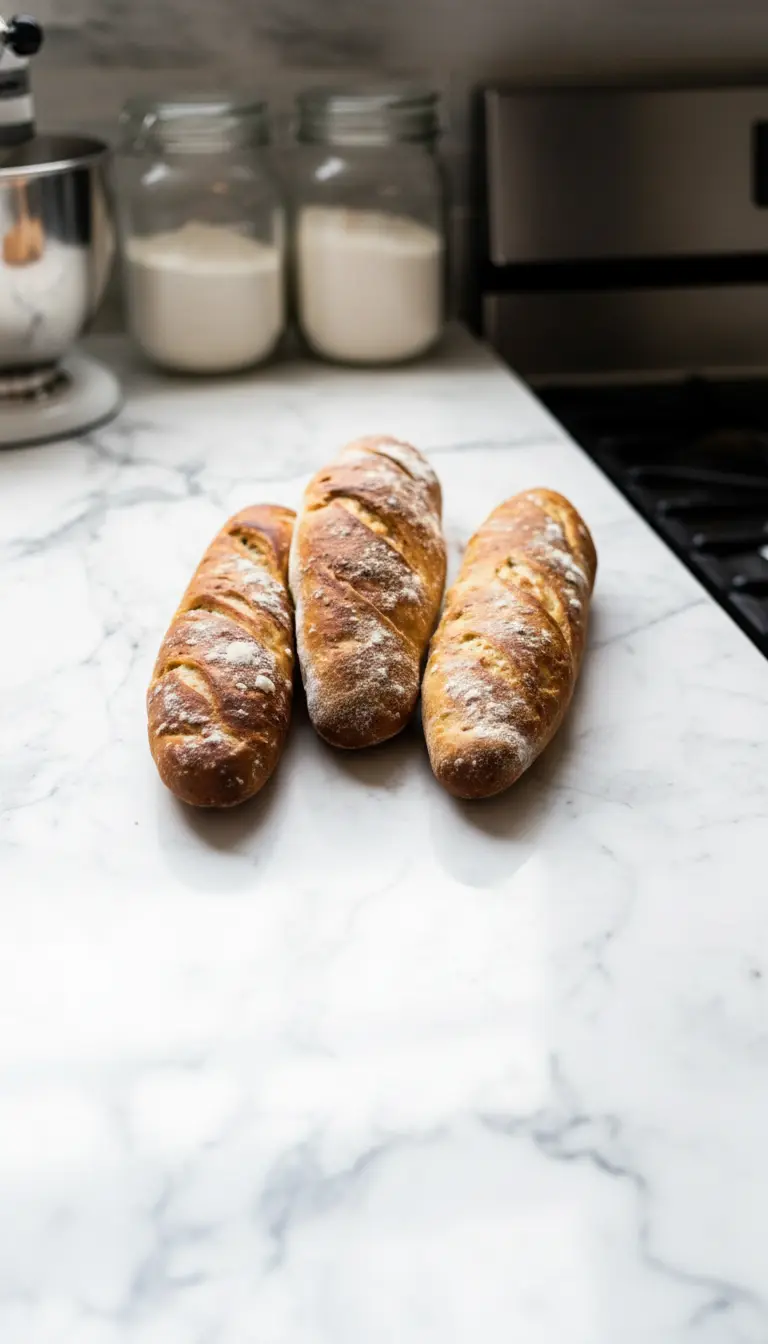
The moment I finally pulled that first truly golden, crackling loaf from my Dutch oven, its intoxicating aroma filling every corner of our home, I knew I had found it – that unforgettable culinary victory and the very essence of ‘Taste Charm’ radiating from my own kitchen, a secret I’m so excited to share today. And once you master this foundational loaf, you might even be inspired to explore delightful variations like my Savory Herb Artisan Bread with Dill & Chives!
The Magic Behind Your Perfect Artisan Bread Recipe
Every truly great Artisan Bread Recipe begins not with fancy equipment or obscure ingredients, but with a philosophy of simplicity and quality. This isn’t just about mixing flour, water, salt, and yeast; it’s about giving each element the space to shine, transforming them into something truly spectacular. The magic lies in the slow fermentation, allowing the yeast to work its wonders and develop deep, complex flavors that you just can’t rush. This method builds character and structure, leading to that signature open crumb and irresistible chew. It’s the Taste Charm way of letting nature do most of the hard work, ensuring your bread is not just food, but an experience, full of genuine flavor and satisfying texture.
Gathering Your Essentials for the Artisan Bread Recipe
Before you dive into the delightful process of making your Artisan Bread Recipe, let’s make sure our kitchen is set up for success. We’re talking about just four core ingredients here: bread flour for structure, warm water to activate our yeast, active dry yeast to give it life, and salt for essential flavor. Beyond these, a few simple tools will make your journey smooth. A large mixing bowl, a wooden spoon, parchment paper, and crucially, a Dutch oven. The Dutch oven is our secret weapon for achieving that coveted crackling crust, trapping steam to create a perfect baking environment. With these essentials, you’re not just baking; you’re cultivating a true Taste Charm moment.
Mastering the Dough for a Flawless Artisan Bread Recipe
The heart of a fantastic Artisan Bread Recipe is in its dough. For this minimal-ingredient wonder, we embrace a no-knead philosophy, letting time and hydration do the heavy lifting. Combine your flour, salt, and yeast, then slowly add the warm water, mixing just until no dry spots remain. Don’t worry if it looks shaggy and sticky – that’s precisely what we want. This loose dough needs time to develop gluten and flavor, typically 12-18 hours at room temperature. This long, slow rise is where the true Taste Charm of artisan bread develops, creating those beautiful air pockets and the nuanced flavor profile we adore. It’s a testament to patience paying off in delicious ways.
Baking Your Way to the Ultimate Artisan Bread Recipe
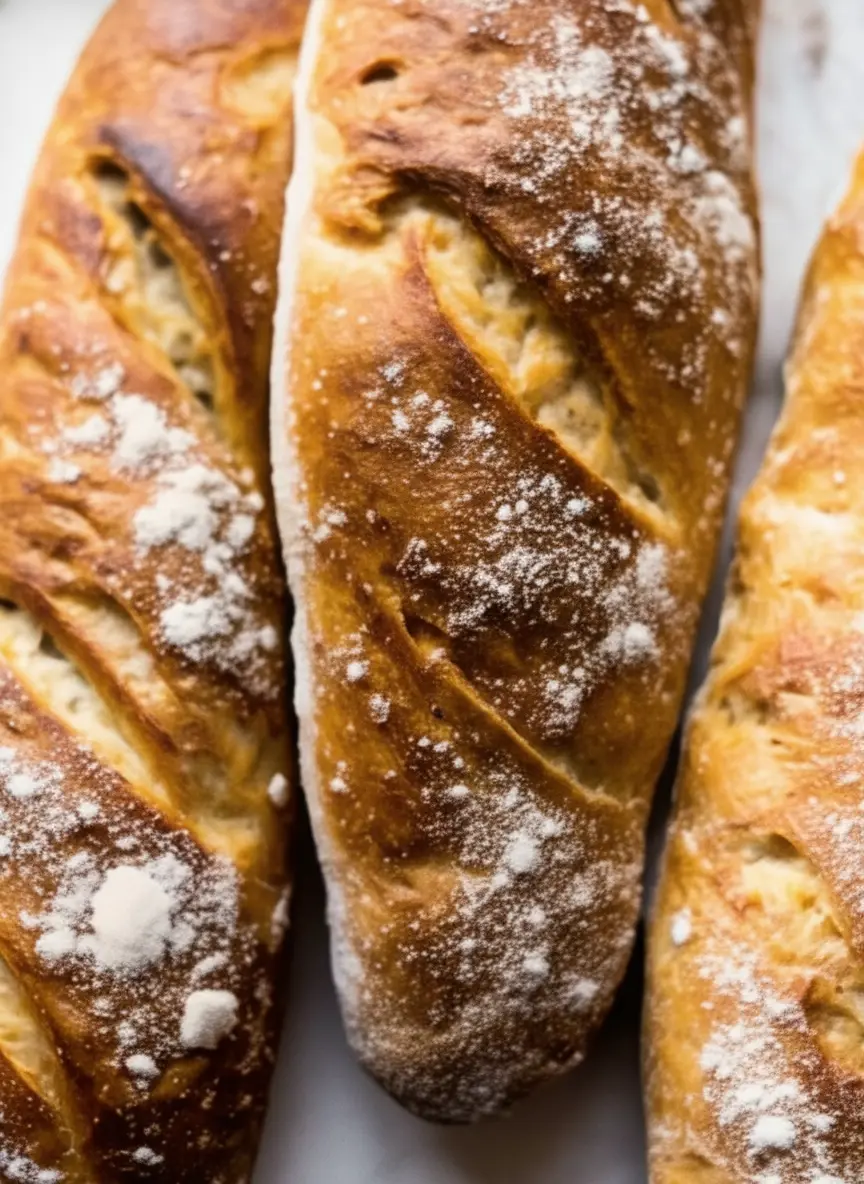
Now for the grand finale of your Artisan Bread Recipe journey: the bake! Preheat your oven to a blazing 450°F (230°C) with your empty Dutch oven inside. This step is vital, as a super-hot pot creates an instant burst of steam, crucial for that incredible crust. Once your dough has proofed, gently turn it out onto a floured surface, shape it lightly, and carefully transfer it to the hot Dutch oven. Bake covered first to steam the crust, then uncovered to achieve that glorious golden-brown, crispy exterior. The sound of its crackling when it comes out of the oven is pure music, a herald of the Taste Charm you’ve created.
Enjoying and Storing Your Artisan Bread Recipe Creation
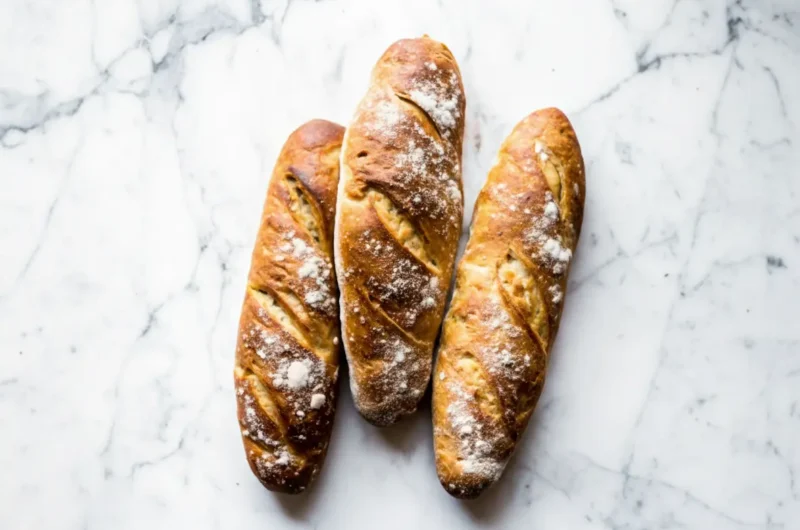
There’s nothing quite like pulling a fresh Artisan Bread Recipe loaf from the oven. Resist the urge to slice it immediately – let it cool on a wire rack for at least 30 minutes. This allows the internal structure to set and the crust to become truly crisp. Then, slice in and marvel at the airy crumb and the delightful chew. This bread is perfect with butter, olive oil, or alongside a hearty soup. To store any leftovers, wrap the cooled bread tightly in a clean linen towel or plastic wrap. It stays wonderfully fresh for a day or two, but honestly, it’s so good, it rarely lasts that long. Enjoy every crumb of this Taste Charm masterpiece!
Our Foolproof 4-Ingredient Artisan Bread Recipe: Taste Charm’s Secret to Perfect Crusty Loaves!
Course: BreakfastCuisine: EuropeanDifficulty: Medium4
servings30
minutes40
minutes300
kcalMaster the art of homemade artisan bread with just four simple ingredients! This no-knead recipe delivers a beautifully crusty exterior and a soft, airy interior every time, bringing true bakery-style charm to your kitchen.
Ingredients
3 cups (380g) bread flour, plus more for dusting
1 1/2 teaspoons salt
1/2 teaspoon active dry yeast
1 1/2 cups (360ml) warm water (105-115°F)
Directions
- In a large bowl, combine the flour, salt, and active dry yeast. Mix well with a wooden spoon.
- Add the warm water to the dry ingredients. Mix until all the flour is incorporated and no dry spots remain. The dough will be shaggy and sticky.
- Cover the bowl tightly with plastic wrap or a clean kitchen towel. Let the dough rise at room temperature for 12-18 hours, or until doubled in size and bubbly.
- Once risen, gently scrape the dough onto a lightly floured surface. Fold the edges towards the center a few times to form a rough ball. Do not overwork the dough.
- Place a piece of parchment paper on your work surface. Carefully transfer the dough ball onto the parchment paper. Loosely cover with plastic wrap or a towel and let rest for 30 minutes while the oven preheats.
- Place a 5-6 quart Dutch oven (with its lid) into your oven. Preheat oven to 450°F (230°C) for at least 30 minutes. The Dutch oven must be very hot.
- Carefully remove the hot Dutch oven from the oven. Using the parchment paper as a sling, gently lower the dough into the hot pot.
- Score the top of the dough once or twice with a sharp knife or razor blade (optional, but creates a beautiful finish).
- Cover the Dutch oven with its lid and bake for 30 minutes.
- Remove the lid and continue baking for another 10-15 minutes, or until the crust is deeply golden brown and crispy.
- Carefully remove the bread from the Dutch oven using the parchment paper. Transfer to a wire rack to cool completely before slicing (at least 30 minutes). This is crucial for the crumb to set and the crust to become crisp.
Notes
- Flour Matters: Bread flour gives the best structure and chew, but all-purpose flour can be used in a pinch (though results may vary slightly).
- Patience is Key: Don’t rush the proofing time. A longer, slower rise develops more flavor.
- Dutch Oven Magic: A preheated Dutch oven is essential for replicating a professional bakery oven’s steaming effect, yielding a superior crust. If you don’t have one, a baking stone with a pan of water for steam can work, but the results won’t be identical.
- Scoring: A sharp knife or razor blade will help create a beautiful ‘ear’ on your bread and control where the loaf expands.
- Cooling: Resist the urge to slice hot bread! Cooling allows the interior to set and prevents a gummy texture. It also ensures the crust stays crisp.