There’s an undeniable magic woven into every batch of homemade ice cream, a spell that instantly transports you back to sun-drenched summer evenings and the rhythmic hum of an old-fashioned churner on the porch. For me, it’s a vivid memory of my grandmother’s kitchen, always a haven of warmth and sweet aromas, where the comforting scent of vanilla and cream signaled our cherished weekend ritual. We’d take turns cranking the handle, our anticipation building with every slow rotation, eager for that first melt-in-your-mouth spoonful that was pure, unadulterated joy.
That unforgettable taste, those giggles, and the simple pleasure of freshly churned goodness are what inspired me to refine this recipe over the years, making it wonderfully simple, unbelievably creamy, and guaranteed to bring that same nostalgic delight to your own kitchen. While this classic vanilla recipe is a timeless favorite, exploring unique variations like the intriguing Blue Moon Ice Cream and the secrets behind its flavor can be part of the fun! Forget the store-bought stuff; if you’re looking for an even deeper dive into the art of making Homemade Ice Cream, a bowl of your own creation is more than just a dessert – it’s a moment of pure bliss, a cherished memory waiting to be made.
Why You’ll Love This Homemade Ice Cream
There are so many reasons to adore homemade ice cream, but let’s be honest, the biggest one is the taste. There’s simply no comparison to the fresh, vibrant flavor you get from making it yourself. You control every ingredient, ensuring it’s free from unnecessary additives and packed with the good stuff. Plus, the texture is out of this world creamy, rich, and perfectly scoopable, a true indulgence. This recipe specifically aims for that perfect balance of sweetness and velvety mouthfeel, making every spoonful an absolute dream. It’s also an incredible way to get creative in the kitchen, experimenting with flavors and mix-ins that you’d never find in a grocery store aisle.
The Secret to Great Homemade Ice Cream
The real magic behind truly exceptional homemade ice cream lies in the base, and specifically, how you treat it. For this recipe, we’re leaning into a classic custard base, which involves gently cooking egg yolks, sugar, and milk together. This creates an incredibly rich, stable, and smooth foundation that helps prevent ice crystal formation. The secret, however, is not to rush the chilling process. Giving your custard ample time to chill in the refrigerator—ideally overnight—allows the flavors to deepen and the mixture to become perfectly cold. This ensures your ice cream churns efficiently, resulting in that coveted creamy, luxurious texture we all crave. Patience truly is a virtue when it comes to perfect scoops!
Pro Tips to Nail It Every Time
Making fantastic homemade ice cream is all about those little details that elevate it from good to absolutely glorious. First, make sure your ice cream maker’s bowl is frozen solid, at least 24 hours, or even longer. A super-cold bowl means faster, more efficient churning, leading to a smoother texture. Second, always add a tiny pinch of salt to your base; it doesn’t make it salty, but it brightens and enhances all the other flavors. Third, don’t overfill your ice cream maker. The mixture needs room to expand as air is incorporated during churning.
Finally, for the best scoop, let your freshly churned ice cream ‘cure’ in the freezer for at least 4 hours after churning. This allows it to firm up properly, developing that perfect scoopable consistency.
Fun Variations to Try
Once you master the basic homemade ice cream recipe, a whole world of flavor possibilities opens up! Don’t be afraid to get creative. For a fruity twist, swirl in a homemade berry compote or a roasted peach puree during the last few minutes of churning. If you’re a chocolate lover, try adding cocoa powder to the custard base, or fold in chocolate chips, chunks, or even a fudge ripple at the end.
For a grown-up treat, a splash of liqueur like Kahlua or Grand Marnier can add wonderful depth. And don’t forget texture! Crushed cookies, chopped nuts, or even a swirl of caramel or peanut butter can transform your ice cream into something truly extraordinary. Let your imagination be your guide!
Final Thoughts
Making homemade ice cream is more than just following a recipe; it’s an experience. It’s the smell of vanilla wafting through your kitchen, the anticipation as the churner works its magic, and the undeniable satisfaction of serving up a dessert made with your own two hands. This recipe isn’t just about creating creamy, dreamy ice cream (though it certainly does that!). It’s about bringing a little piece of joy, a touch of nostalgia, and a whole lot of deliciousness into your home. So go ahead, gather your ingredients, clear some space in your freezer, and get ready to create some sweet, sweet memories. Your taste buds, and your loved ones, will thank you!
The Easiest Homemade Ice Cream You’ll Ever Scoop
Course: DessertCuisine: AmericanDifficulty: Easy4
servings30
minutes40
minutes300
kcalWhip up the ultimate creamy homemade ice cream with this simple, classic recipe. Perfect for customizing with your favorite flavors and mix-ins!
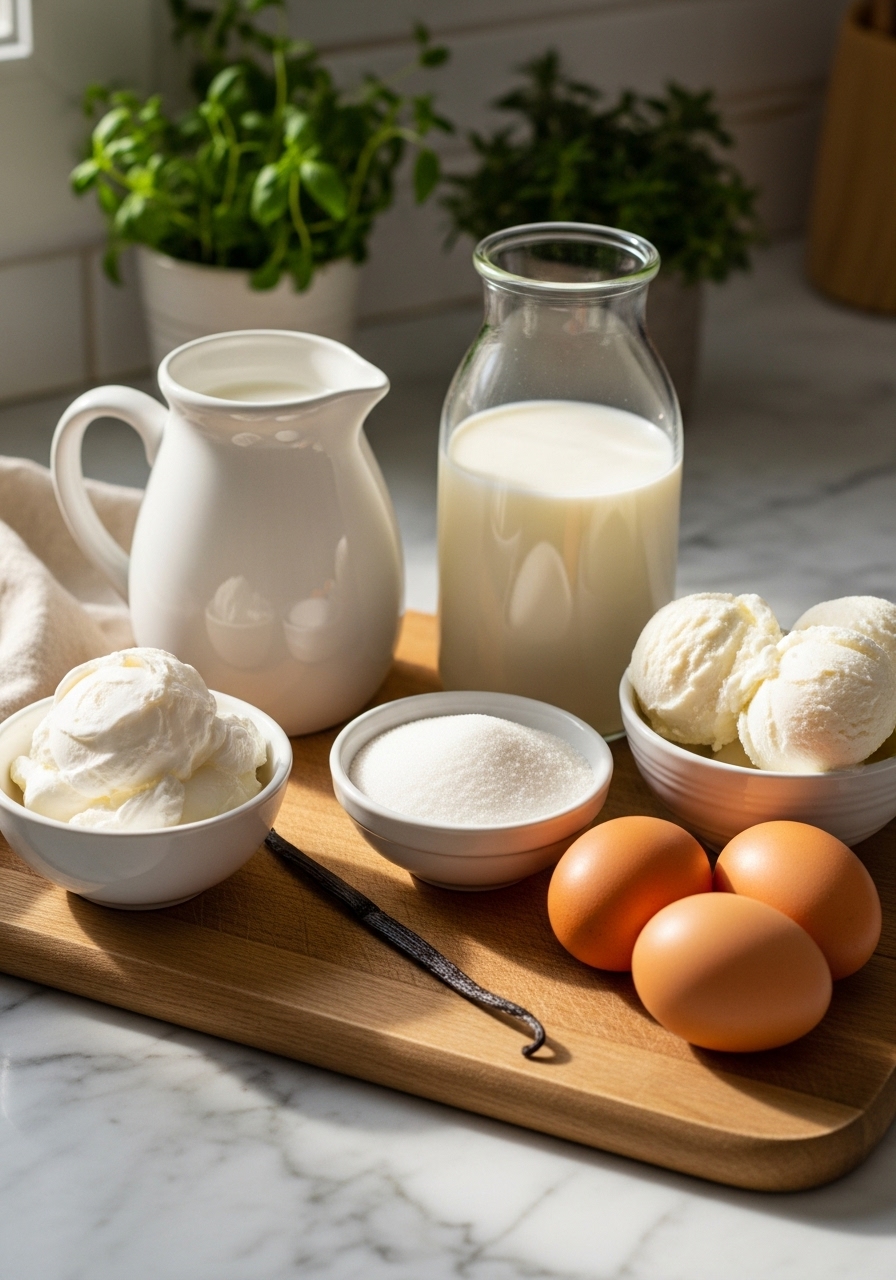
Ingredients
2 cups heavy cream
1 cup whole milk
3/4 cup granulated sugar
Pinch of salt
1 vanilla bean, split and scraped (or 2 tsp vanilla extract)
4 large egg yolks
Directions
- In a medium saucepan, combine the heavy cream, whole milk, granulated sugar, and salt. If using a vanilla bean, add the pod and scraped seeds to the mixture. Heat over medium heat, stirring occasionally, until the sugar dissolves and the mixture is hot but not boiling. Remove from heat.
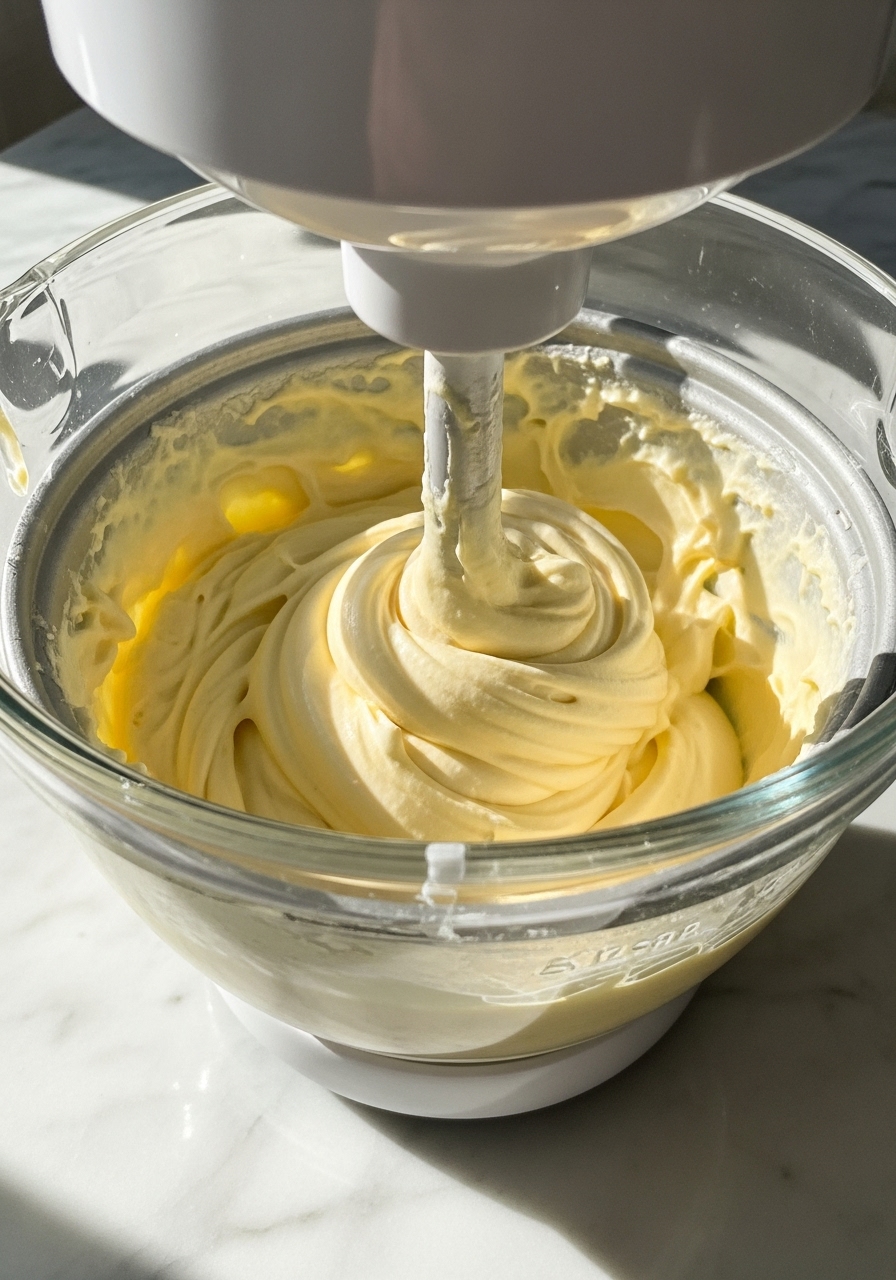
- In a separate medium bowl, whisk the egg yolks until light and creamy. Gradually temper the hot cream mixture into the egg yolks by slowly pouring about 1/2 cup of the hot mixture into the yolks while whisking constantly. This prevents the eggs from scrambling.
- Pour the tempered egg yolk mixture back into the saucepan with the remaining hot cream. Return to medium-low heat and cook, stirring constantly with a wooden spoon, until the custard thickens enough to coat the back of the spoon (about 175-180°F / 79-82°C). Do not boil.
- Remove the saucepan from the heat. If using a vanilla bean, remove the pod. Stir in vanilla extract if you are using it instead of the bean. Pour the custard through a fine-mesh sieve into a clean bowl to remove any potential bits of cooked egg or vanilla bean debris.
- Cover the custard directly with plastic wrap to prevent a skin from forming and refrigerate for at least 4 hours, or preferably overnight, until thoroughly chilled. The colder the custard, the better the ice cream will churn.
- Once chilled, pour the custard into your ice cream maker and churn according to the manufacturer’s instructions until it reaches the consistency of soft-serve ice cream (usually 20-25 minutes).
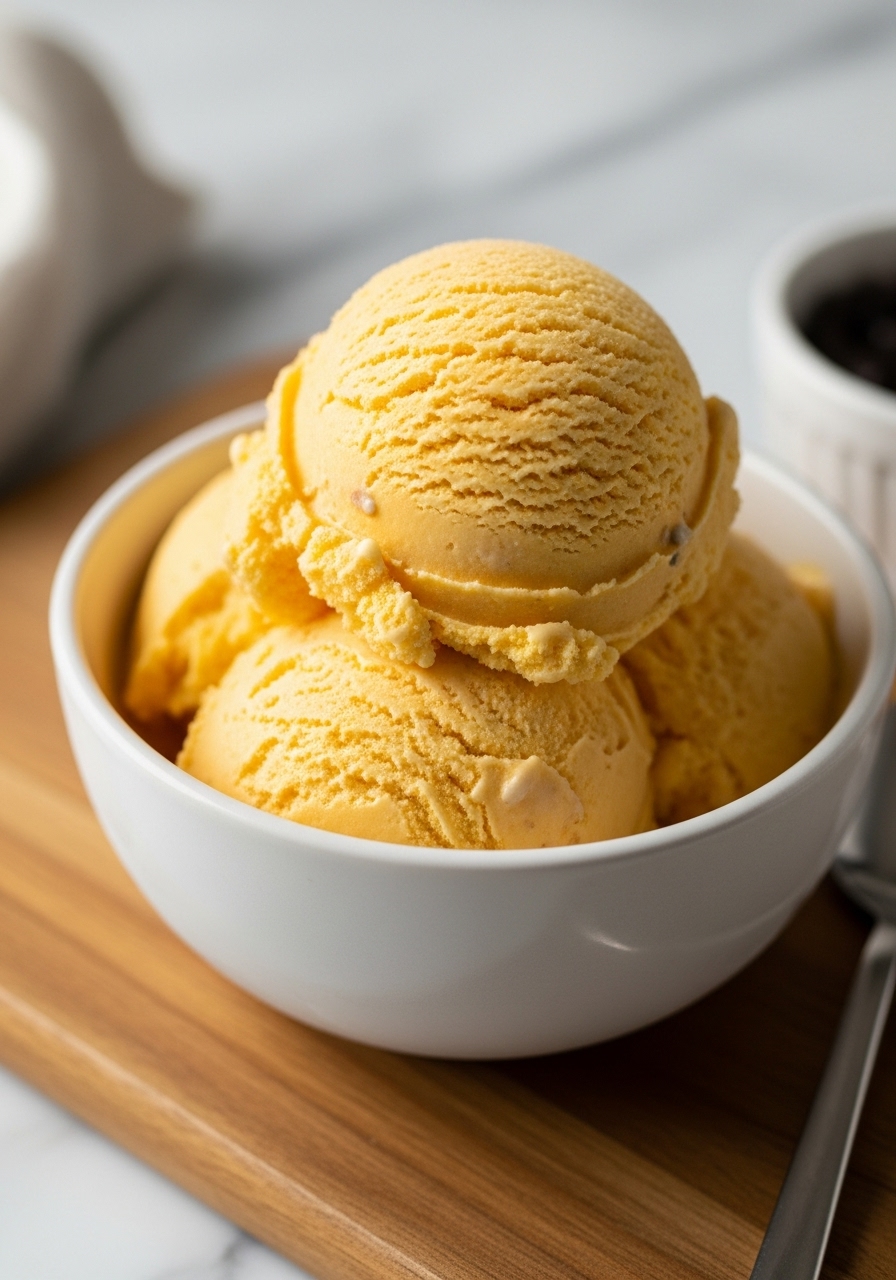
- Transfer the freshly churned ice cream to an airtight container. Press plastic wrap directly onto the surface of the ice cream to prevent ice crystals from forming. Freeze for at least 4 hours, or until firm, before serving.
Notes
- Chill Factor: Don’t skimp on the chilling time for your custard base! The colder it is before it goes into the ice cream maker, the creamier and smoother your final homemade ice cream will be. Patience truly pays off here!
- Flavor Fun: This vanilla base is perfect for experimenting! Add a tablespoon of espresso powder for coffee ice cream, or stir in a handful of finely chopped mint leaves during the chilling process for a refreshing twist. The possibilities for homemade ice cream are endless!
- Smooth Scoops: For perfectly scoopable homemade ice cream, consider adding a tablespoon of vodka (don’t worry, you won’t taste it!) to the base before churning. The alcohol lowers the freezing point slightly, resulting in a softer, more pliable texture straight from the freezer.