Remember those frantic mornings, rushing out the door and grabbing a sad, sugar-laden bar that promised energy but delivered a crash by mid-morning? That cycle finally broke one breezy Tuesday when I looked at my pantry and thought, “There *has* to be a better, more wholesome way to fuel our busy lives!”
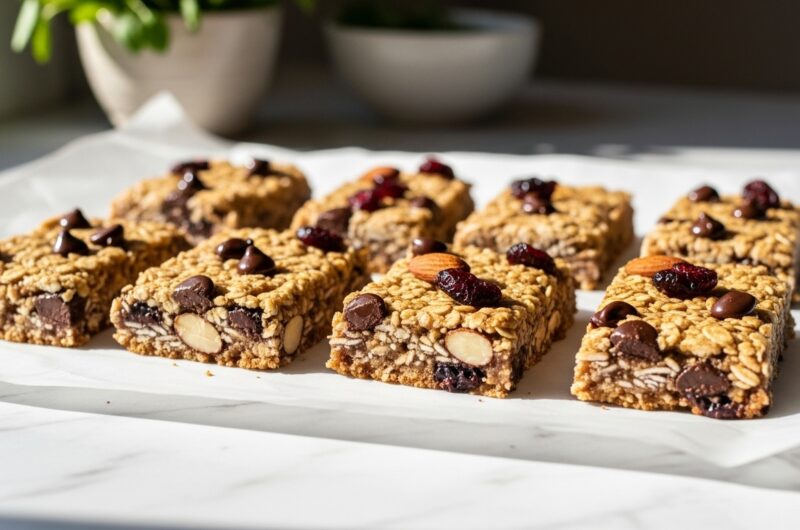
And oh, there was! My answer came in the form of these incredible Chewy Homemade Granola Bars, a true kitchen savior crafted with just five simple ingredients and absolutely no oven required. They’re not just granola bars; they’re little pockets of wholesome happiness, ready to rescue your busiest days, much like my comforting cozy banana blueberry baked oatmeal offers another delightful, easy morning solution.
These homemade marvels are packed with all the good stuff, infinitely customizable to your heart’s content, and so ridiculously easy to whip up, you’ll wonder why you ever bought them from the store again! This recipe is a genuine game-changer for anyone craving a delicious, healthier snack that fits seamlessly into a busy life, and if you’re looking for even more inspiration on making the best no-bake snacks, you’ll love exploring resources like Bakemode’s guide to chewy homemade granola bars.
Why You’ll Love This Chewy Homemade Granola Bars
These chewy homemade granola bars aren’t just a recipe; they’re a lifestyle upgrade! You’ll fall head over heels for their incredible chewiness, a texture often lost in dry, crumbly store-bought versions. Beyond the amazing taste, they’re a fantastic way to control exactly what goes into your body, ditching those mysterious additives and excess sugars often found in commercial brands. Plus, imagine the money you’ll save by whipping up a batch at home instead of constantly restocking expensive packages! They’re the perfect grab-and-go breakfast, an ideal after-school snack for the kids, or a quick energy boost before a workout. They truly deliver on both flavor and convenience.
The Secret to Great Chewy Homemade Granola Bars
The true magic behind truly great chewy homemade granola bars lies in two simple things: the perfect binder ratio and the power of a firm press. First, using a thoughtful combination of a sticky liquid sweetener (like honey or maple syrup) and a creamy nut butter (peanut butter is my favorite here) creates that perfect, pliable stickiness that holds everything together beautifully without any baking required. Second, and this is absolutely crucial for structural integrity, you must press the mixture into the pan with serious conviction! I mean, really lean into it with the back of a spoon or even a second piece of parchment paper.
This compacts all those lovely oats, nuts, and fruits, ensuring your bars don’t crumble into a messy heap when you slice into them.
Pro Tips to Nail It Every Time
To ensure your chewy homemade granola bars turn out perfectly every single time, here are a few little tricks I’ve picked up in my kitchen adventures. Always line your pan with parchment paper, leaving a generous overhang on the sides – this makes lifting the entire slab out for cutting an absolute breeze, especially with a no-bake recipe. Don’t skimp on the chilling time; those two hours in the fridge are essential for them to set properly and become firm enough to cut without falling apart. If you’re in a real hurry, 30 minutes in the freezer works wonders in a pinch.
Also, for super clean cuts, use a sharp, warm knife; sometimes I run mine under hot water and wipe it dry between slices. And finally, opt for old-fashioned rolled oats, not instant, for the best chewy texture and substance.
Fun Variations to Try
The beauty of these chewy homemade granola bars is how wonderfully versatile they are! Once you have the basic binder and oat ratio down, the sky’s the limit for mix-ins. If you’re navigating nut allergies, simply swap the peanut butter for sunflower seed butter and omit the almonds, adding extra oats or seeds like pumpkin or chia instead. For different flavor profiles, try dried apricots and white chocolate chips, or go tropical with shredded coconut and dried mango. A pinch of cinnamon, a dash of vanilla extract, or even a sprinkle of sea salt can also elevate the taste. Don’t be afraid to experiment with different dried fruits or seeds for an extra nutritional boost and textural interest!
Final Thoughts
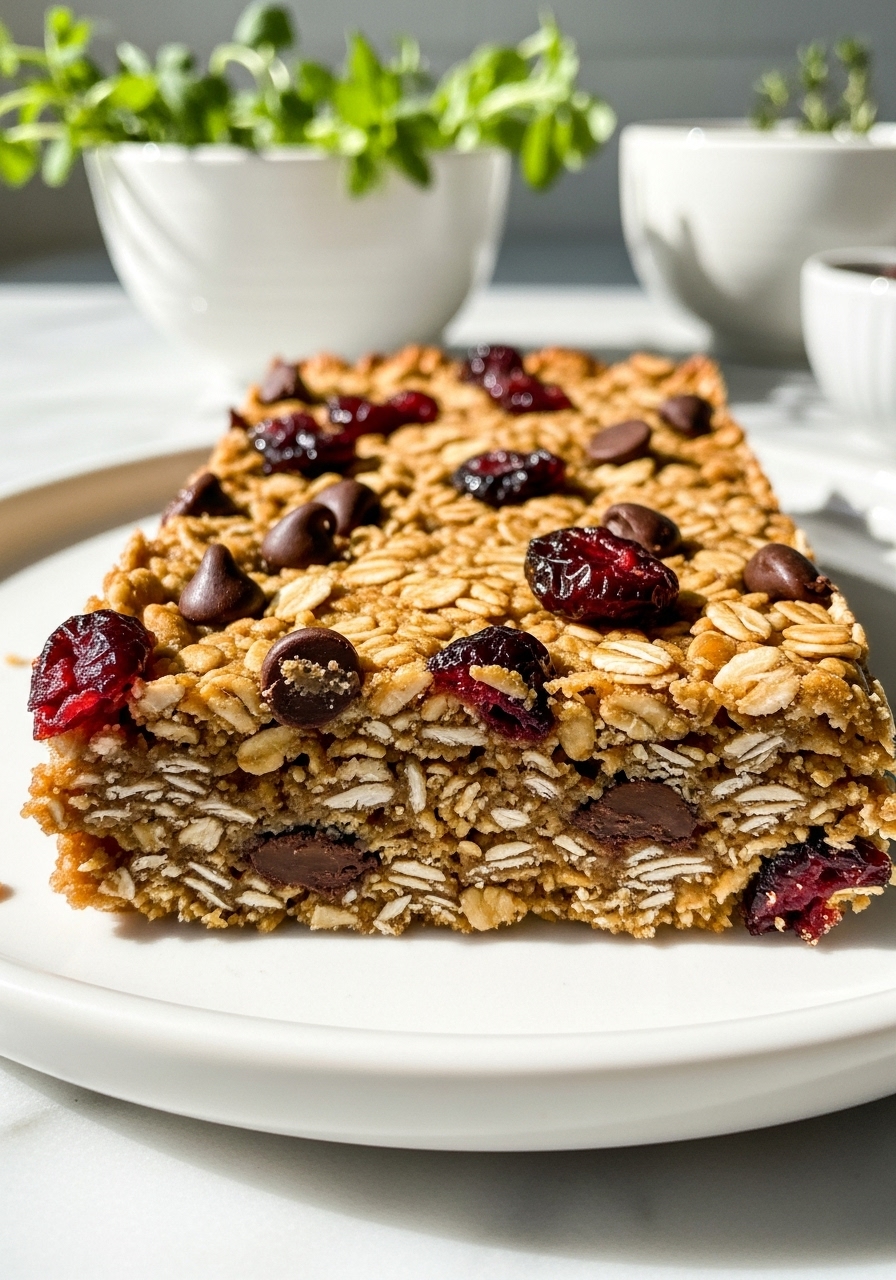
There’s something incredibly satisfying about looking at a neatly cut batch of chewy homemade granola bars, knowing you made them yourself, with love and good intentions. They’re a testament to the fact that healthy, delicious, and convenient can absolutely coexist in our busy lives. These bars aren’t just food; they’re a little act of self-care, a promise of a better snack, and a cozy taste of home whenever you need it most. They embody that feeling of providing goodness for yourself and your loved ones, effortlessly. So, next time you’re craving a wholesome bite, remember this simple recipe, gather your ingredients, and let your kitchen adventure begin! Enjoy every chewy, delicious moment.
My Favorite Chewy Homemade Granola Bars (5 Ingredients!)
Course: BreakfastCuisine: AmericanDifficulty: Easy4
servings30
minutes40
minutes300
kcalMy go-to recipe for incredibly chewy, perfectly sweet, no-bake granola bars, made with just 5 simple ingredients. A wholesome and satisfying snack for any time!
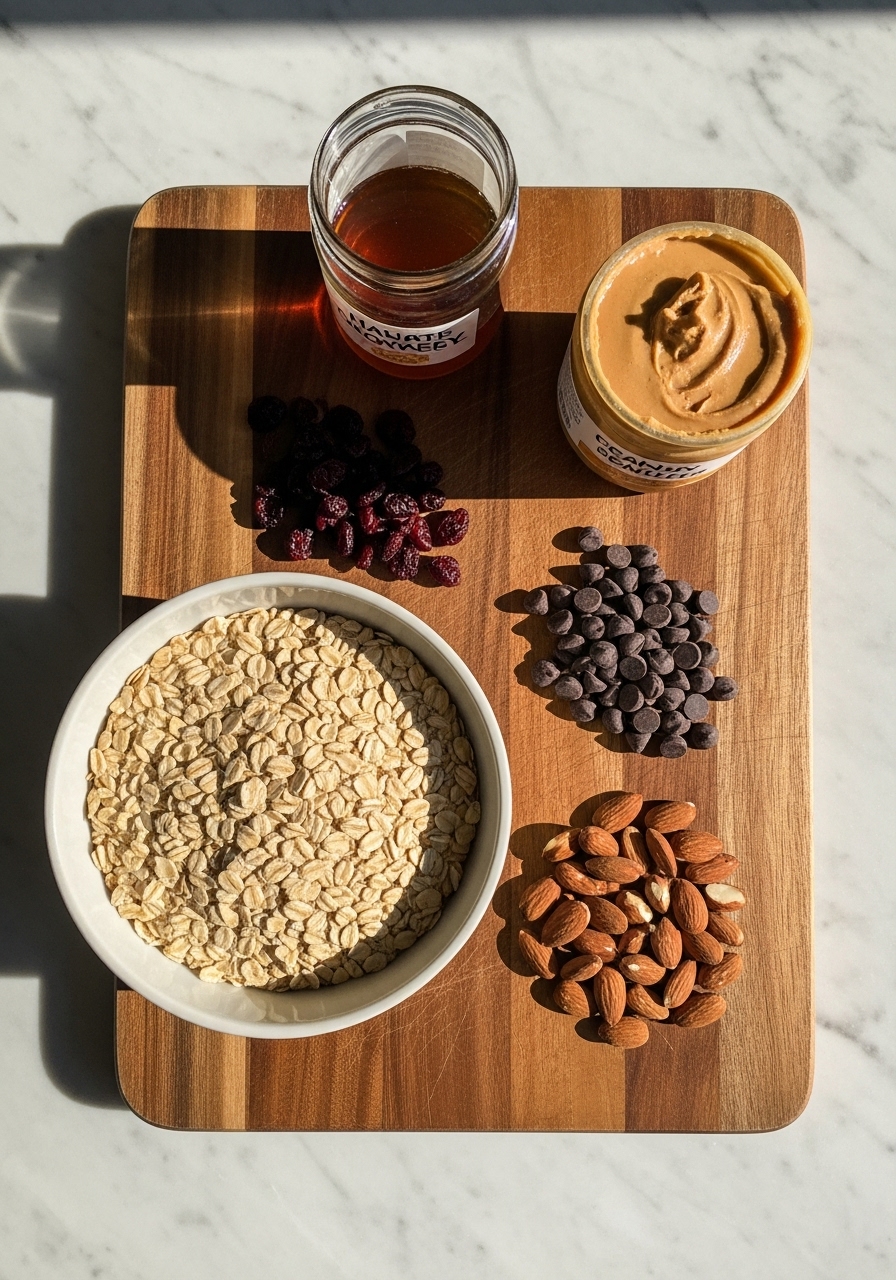
Ingredients
2 cups old-fashioned rolled oats (not instant)
1/2 cup honey or maple syrup
1/2 cup creamy peanut butter (or almond butter, or sunflower seed butter)
1/2 cup mini chocolate chips (dark, semi-sweet, or milk)
1/2 cup dried cranberries
1/4 cup chopped almonds (optional, for extra crunch)
Directions
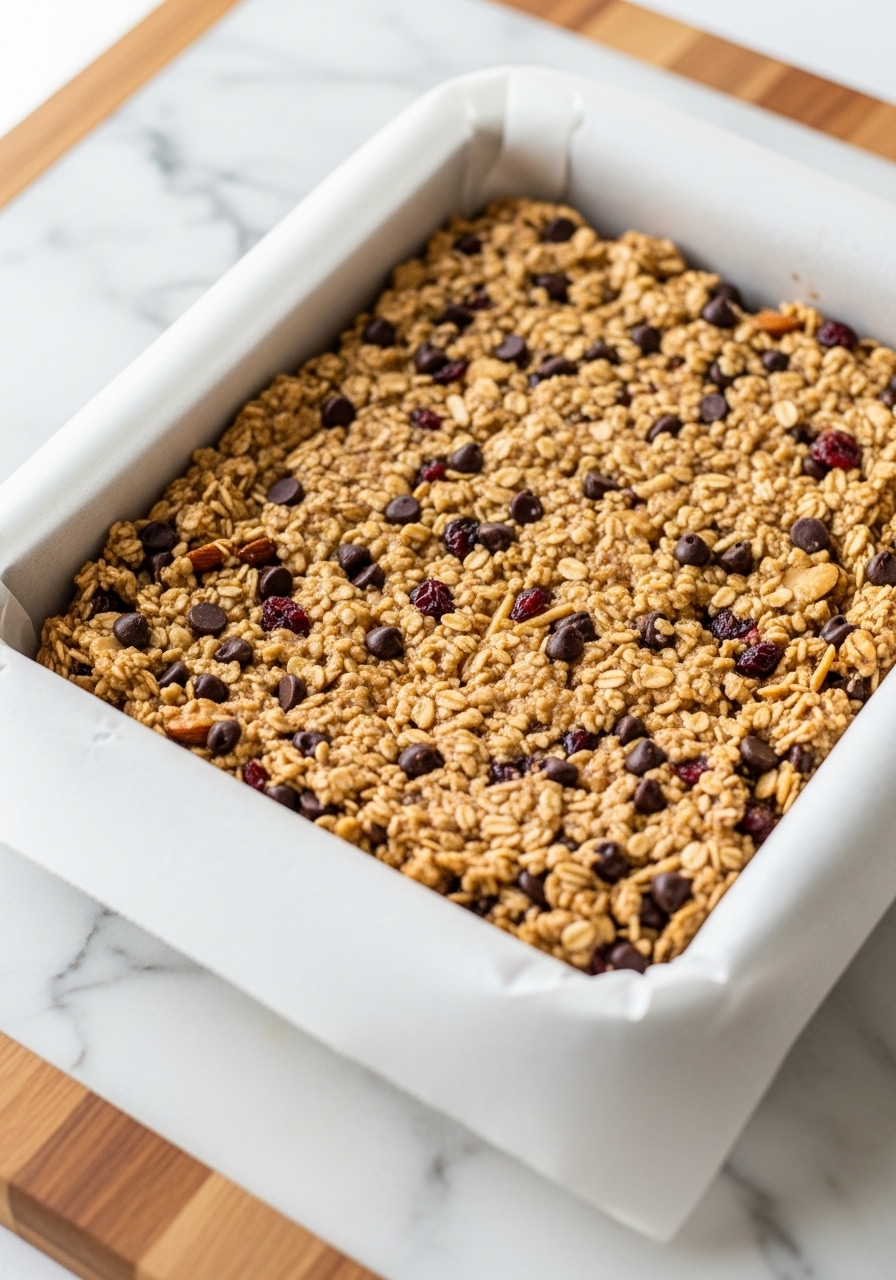
- Line an 8×8 inch baking pan with parchment paper, leaving an overhang on all sides. This will make it easy to remove the bars later.
- In a large microwave-safe bowl, combine the honey (or maple syrup) and creamy peanut butter. Microwave on high for 30-60 seconds, or until the mixture is warm and easy to stir until smooth.
- Add the rolled oats, mini chocolate chips, dried cranberries, and chopped almonds (if using) to the wet mixture in the bowl.
- Stir everything together thoroughly until all the dry ingredients are completely coated and evenly distributed.
- Transfer the granola bar mixture into the prepared 8×8 inch pan. Using the back of a spoon or another piece of parchment paper, press the mixture down *very firmly* and evenly into the pan. Compacting it well is key to bars that hold together.
- Refrigerate the pan for at least 2 hours, or place it in the freezer for about 30 minutes, until the bars are completely firm and set.
- Once firm, use the parchment paper overhang to lift the entire slab of granola bars out of the pan and place it on a cutting board.
- Using a sharp knife, cut the slab into 12 equally sized bars (you can cut 3 rows by 4 rows). For cleaner cuts, you can run your knife under hot water and wipe it dry between cuts.
- Store the chewy homemade granola bars in an airtight container in the refrigerator for up to 2 weeks, or individually wrapped in the freezer for up to 3 months for a quick grab-and-go option.
Notes
- Press It Firmly: The absolute key to these no-bake granola bars holding together beautifully is to press the mixture down with serious intention! Use the back of a sturdy spoon or even another piece of parchment paper to really compact the mixture into the pan. Don’t be shy!
- Chill Out Completely: Patience is a virtue when it comes to no-bake treats. Make sure you refrigerate the bars for at least 2 hours (or freeze for 30 minutes) until they are completely firm. Trying to cut them too early will result in crumbly, messy bars, and nobody wants that!
- Customize Your Mix-ins: This recipe is wonderfully versatile! Feel free to swap out the chocolate chips and dried cranberries for other favorites. Think toasted shredded coconut, chopped dried apricots, a mix of seeds (sunflower, pumpkin, chia), or even a pinch of cinnamon or vanilla extract for extra flavor. Just keep the total quantity of mix-ins similar.