Molten Lava Cake Recipe adventures often begin with a sense of intimidation, as many home bakers assume that achieving that iconic oozing center requires a professional culinary degree. I vividly remember the first time I attempted these for a special dinner date, spending the entire evening hovering by the oven door like it was a suspenseful television drama. I was terrified the centers would solidify before I could serve them, but to my delight, they were absolutely perfect and changed my relationship with baking forever.
There is something profoundly emotional about watching a warm sponge cake surrender its decadent contents onto a plate in a beautiful chocolate flow. This simple dessert has a way of turning an ordinary evening into a celebration of flavor and texture that everyone will remember.
While the process feels like a professional magic trick, the secret to success is really just a matter of mastering precise timing and the correct oven temperature. For those looking to experiment with different flavor profiles, you can discover new techniques by reading about this molten pistachio lava cake with 10 tips to help refine your skills and expand your dessert repertoire. If you are still feeling a bit nervous about the bake, I highly recommend checking out this foolproof molten lava cake recipe which provides excellent step-by-step guidance for beginners.
Learning these small nuances makes the difference between a dry cake and a molten masterpiece. It is all about finding that sweet spot where the edges are set but the heart remains liquid gold.
In our household, this dessert has evolved into the perfect I’m sorry cake, the Congratulations cake, and the Just because it’s Tuesday indulgence. It is rich, unashamedly messy, and shockingly simple once you realize that basic pantry staples like chocolate, butter, and eggs are all you need to achieve culinary glory. This recipe proves that you do not need to be a pastry chef to create a high-end restaurant experience right in the comfort of your own kitchen.
Once you master this technique, you will find yourself looking for any excuse to preheat the oven and share the magic with your loved ones. Giving yourself permission to get a little messy in the kitchen is where the best memories are usually made.
The Science Behind This Molten Lava Cake Recipe
Understanding the physics of a Molten Lava Cake Recipe is the key to consistent success. Unlike a traditional cake where we aim for an even bake all the way through, this recipe relies on high heat to set the exterior rapidly while leaving the interior raw but warm. It is a delicate balance. We use a higher ratio of fat and sugar to flour, which keeps the batter unstable and fluid when hot. The eggs provide the structure for the outer shell, creating that delicate crust that holds the liquid gold inside. When I first started testing this, I realized that the size of your ramekin dictates everything. A wider ramekin cooks faster, while a deeper one protects the core.
For this specific method, we rely on standard 6-ounce ramekins to ensure that the heat penetrates just enough to create a structural wall without ruining the goo factor.
Choosing Chocolate for Your Molten Lava Cake Recipe
Since chocolate is the primary flavor profile here, the quality you choose for this Molten Lava Cake Recipe will make or break the result. Please, I beg you, do not use chocolate chips. Chips contain stabilizers meant to help them hold their shape, which is exactly the opposite of what we want for a smooth melt. You want a high-quality baking bar, ideally semi-sweet or bittersweet with around 60 to 70 percent cocoa solids. In my kitchen, I always reach for a bar that I would be happy eating on its own. The depth of flavor in a good courier chocolate adds fruitiness and earthiness that balances the sugar. When you melt the butter and chocolate together, do it slowly.
If the chocolate seizes or burns, there is no saving it, and you will have to start over. Treat the chocolate with the respect it deserves.
Prep Steps for a Stress-Free Molten Lava Cake Recipe
The most heartbreaking failure in any Molten Lava Cake Recipe is when the cake refuses to leave the pan. You invert the ramekin onto a plate, tap it, pray to the baking gods, and… nothing happens. Or worse, half the cake falls out and the other half stays stuck. To avoid this tragedy, preparation is non-negotiable. I liberally brush every inch of the ramekin interior with softened butter. Don’t miss a spot. Then, instead of flour, I dust the inside with cocoa powder. This adds an extra layer of chocolate flavor and ensures there are no unsightly white flour streaks on your dark cake.
Once prepped, I actually like to pop the ramekins in the fridge while I make the batter. This helps the butter set, creating a better barrier against sticking.
Baking Times for the Ultimate Molten Lava Cake Recipe
Nailing the timing is the final boss level of this Molten Lava Cake Recipe. Oven thermometers are your best friend here because if your oven runs cool, you will end up with a pudding, and if it runs hot, you will get a brownie. We bake these at a relatively high temperature, usually 425 degrees Fahrenheit. The magic number for me is usually 13 minutes, but I start checking at 12. You are looking for the edges to be firm and pulled away slightly from the sides, but the center needs to have a distinct jiggle. It should look slightly underdone in the middle like a thumbprint. Trust your gut.
If it wobbles like water, give it another minute. If it doesn’t move at all, pull it out immediately and serve it fast.
Serving Ideas to Elevate This Molten Lava Cake Recipe
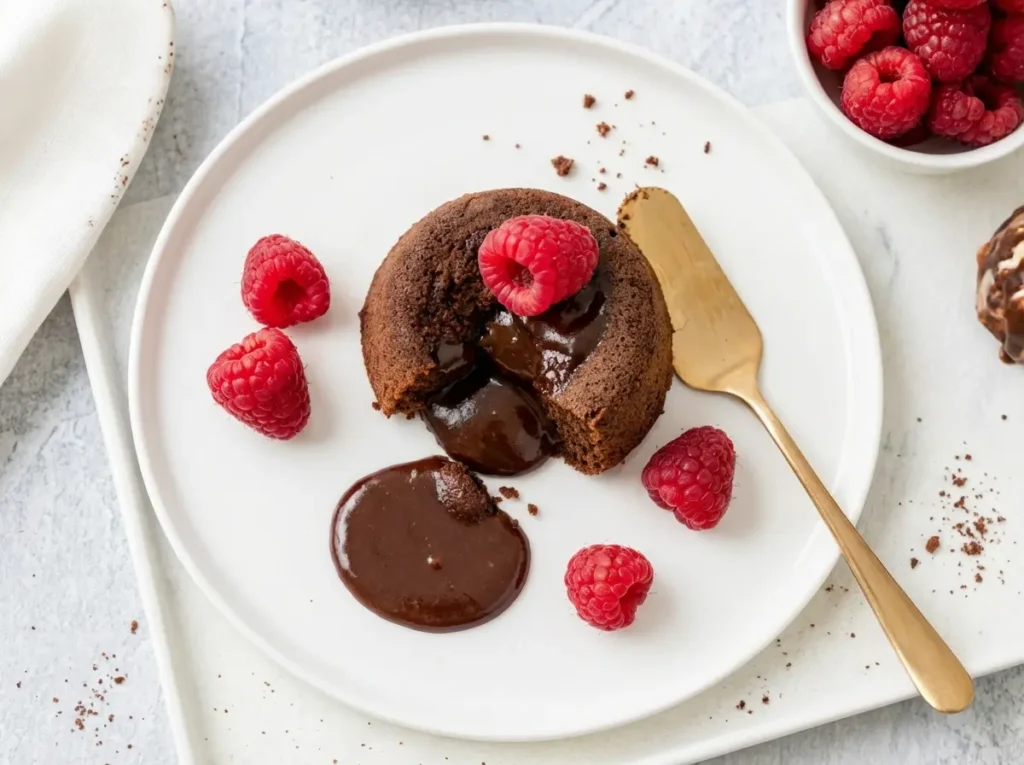
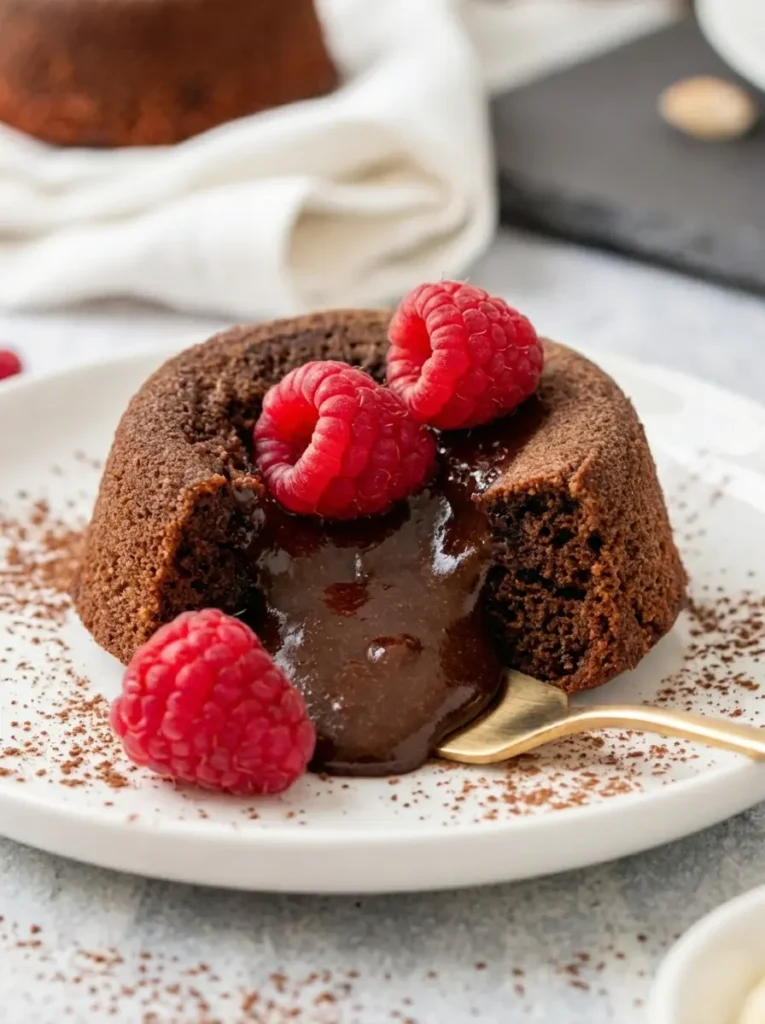
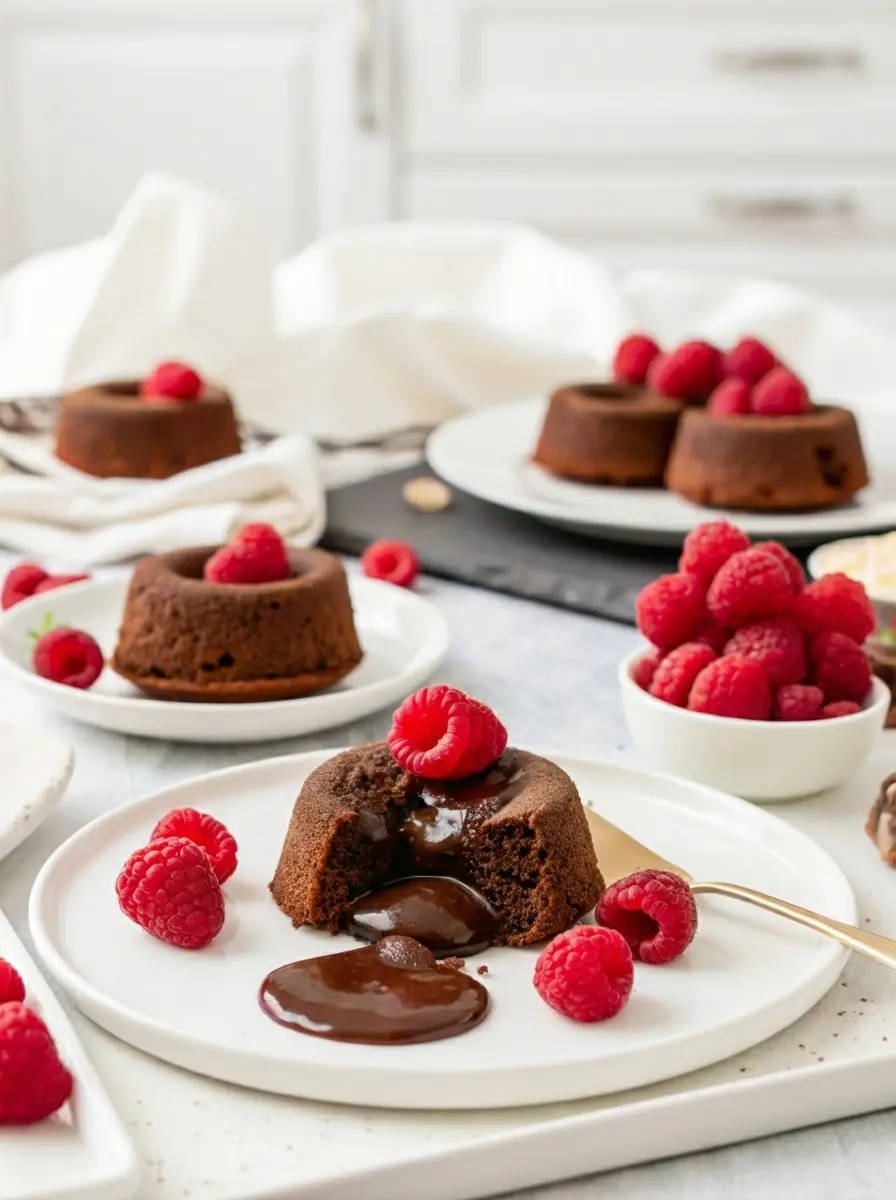
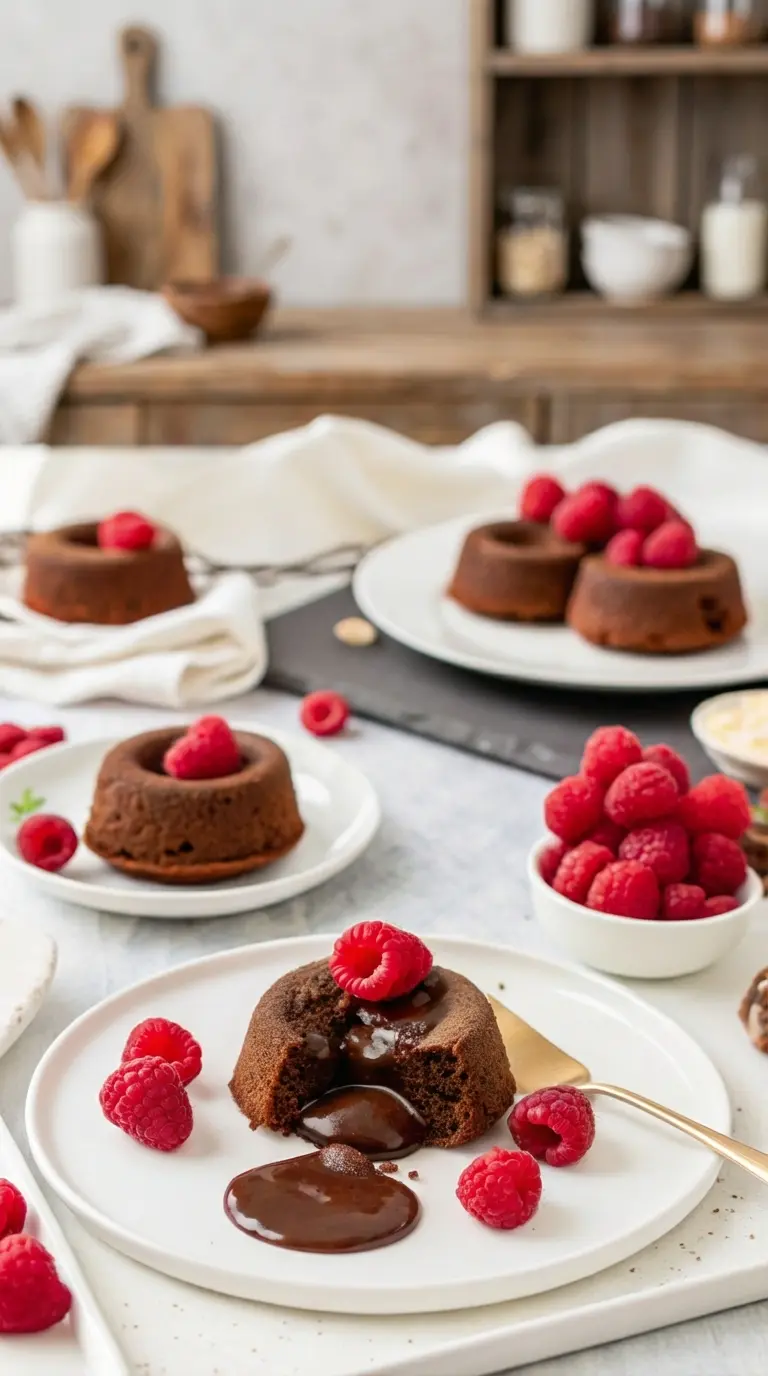
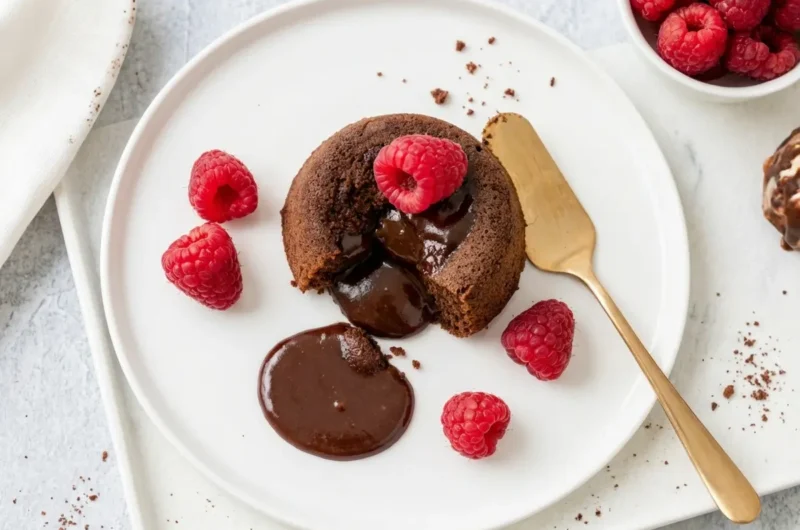
Now, let’s bring this memory to your kitchen with the final presentation. A Molten Lava Cake Recipe is rich, dense, and intense, so it needs something fresh or creamy to cut through the decadence. My absolute favorite pairing is fresh raspberries. The tart acidity of the berry acts as a palate cleanser against the heavy chocolate. A dusting of powdered sugar adds a snowy contrast that looks beautiful on the dark crust. If you want to go the extra mile, a scoop of vanilla bean ice cream or a dollop of unsweetened whipped cream provides a temperature contrast that makes every bite exciting. Hot cake, cold cream, tart fruit. It is the holy trinity of dessert textures.
The Ultimate Molten Lava Cake Recipe for Date Night
Course: DessertCuisine: FrenchDifficulty: Medium4
servings30
minutes40
minutes300
kcalA decadent, restaurant-quality chocolate dessert with a liquid center, served with fresh raspberries. surprisingly easy to make at home.
Ingredients
4 oz (113g) high-quality semi-sweet baking chocolate, chopped
1/2 cup (113g) unsalted butter
1 cup (120g) powdered sugar
2 large eggs
2 large egg yolks
6 tbsp (45g) all-purpose flour
1 tsp vanilla extract
Pinch of salt
Fresh raspberries for garnish
Cocoa powder for dusting ramekins
Directions
- Preheat your oven to 425°F (218°C). Generously butter four 6-oz ramekins and dust with cocoa powder, tapping out excess.
- In a microwave-safe bowl, combine the chopped chocolate and butter. Microwave in 30-second bursts, stirring in between, until completely smooth.
- In a separate bowl, whisk the eggs, egg yolks, vanilla, and powdered sugar until pale and slightly thickened (about 2 minutes).
- Gently fold the chocolate mixture into the egg mixture until combined.
- Sift the flour and salt over the batter and gently fold until just incorporated. Do not overmix.
- Divide the batter evenly among the prepared ramekins.
- Bake for 12-14 minutes, or until the sides are firm but the center still jiggles slightly.
- Let cool for 1 minute, then carefully invert onto plates. Serve immediately with raspberries.
Notes
- Use high-quality baking bars (Ghirardelli or Lindt), not chocolate chips.
- If making ahead, you can refrigerate the filled ramekins for up to 24 hours. Add 1-2 minutes to baking time.
- The center should look wet and soft when you pull them out.