Oh, Egg Wash for Baking, the pure magic of pulling a freshly baked creation from the oven, its surface glowing with that irresistible, golden gleam! There’s truly nothing quite like the sight of a batch of flaky croissants or a rustic pie, their tops radiating that ‘homemade with love’ promise and hinting at the delightful crunch within. For so long, I believed that achieving such a professional, buttery shine was a secret known only to patisserie chefs, reserved for those with years of culinary training.
But after countless kitchen adventures (and yes, a few less-than-golden mishaps!), I’ve uncovered the simple yet profound truth: the secret lies in the humble, yet incredibly powerful, egg wash. This isn’t just about aesthetics; it’s about a foundational technique that transforms ordinary pastries into extraordinary masterpieces, giving them that vibrant color and crisp texture we all adore – if you’re curious to dive even deeper into the science behind the perfect egg wash for baking, resources like BakeMode.com offer fantastic insights.
Speaking of the incredible versatility of eggs, did you know they’re also the star in quick and delicious dishes like my favorite 3-ingredient cottage cheese egg salad? Today, I’m so excited to share my go-to method for a foolproof egg wash, ensuring every creation you bake glows with pride and promises that delightful crunch.
Why You’ll Love This Egg Wash for Baking
This isn’t just about making things pretty, although a gorgeous golden crust is certainly a huge bonus! A good egg wash does so much more than add shine. It helps seal in moisture, giving your baked goods a crispier, more appealing texture. Think of it as a protective, beautifying shield for your pastries. Whether you’re crafting a rustic apple pie, delicate savory turnovers, or fluffy brioche buns, a perfectly applied egg wash elevates their visual appeal and textural complexity. It’s also incredibly simple to prepare, requiring just an egg and a splash of liquid you likely already have on hand. It’s a small step with a mighty impact, making your baking look and feel truly special.

The Secret to Great Egg Wash for Baking
The real magic in a truly great egg wash for baking lies not just in the egg itself, but in the careful choice and proportion of your accompanying liquid. This is where you can truly customize the finish of your baked goods. For a deep, rich golden color and a noticeable sheen, I always reach for whole milk or a touch of cream. The fat content in these liquids contributes to a more pronounced browning and a richer luster. If you’re aiming for a lighter, more subtle gloss, a tablespoon of water works perfectly, giving just enough fluidity without adding extra richness.
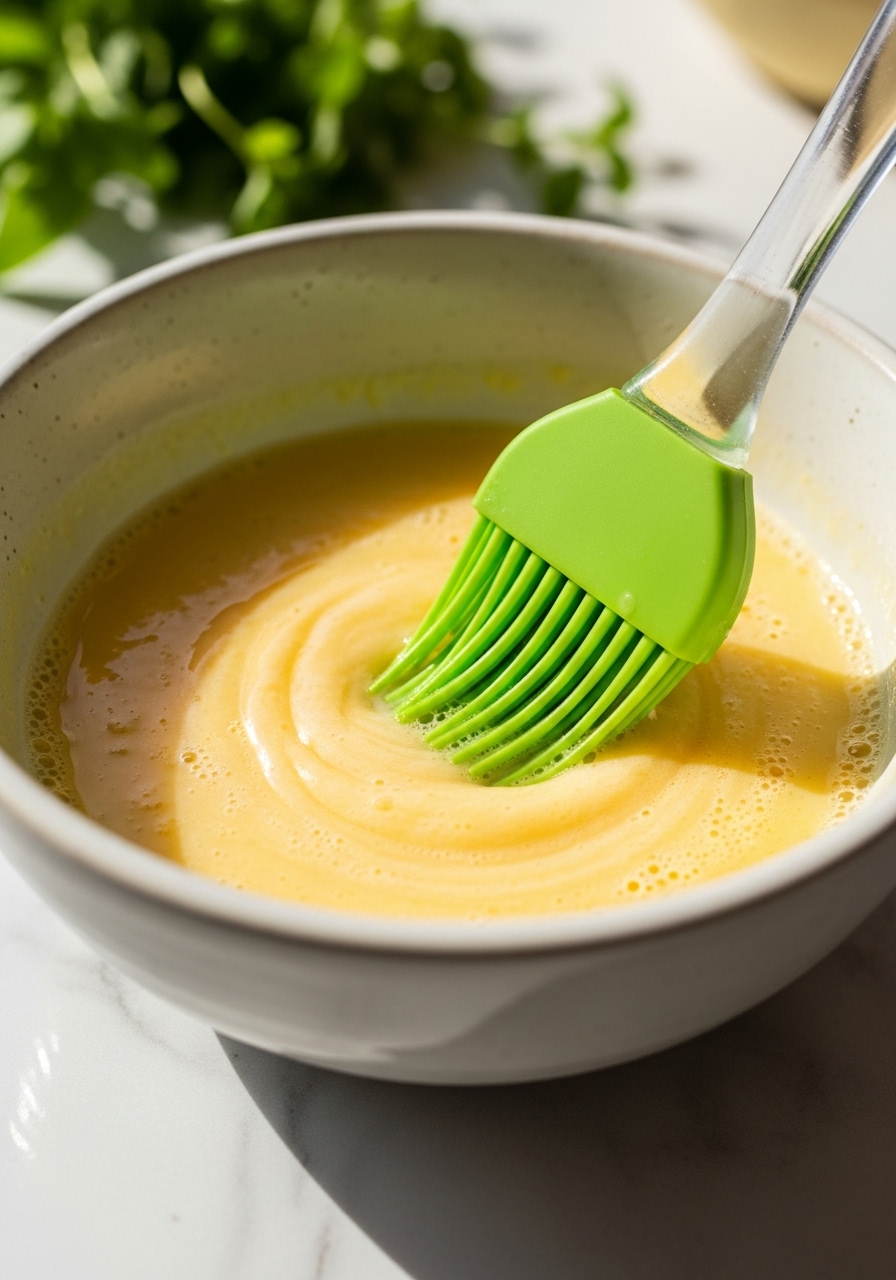
The key is to thoroughly whisk your egg and liquid until completely uniform, ensuring there are no streaks of white or yolk, which guarantees an even application and a consistent finish.
Pro Tips to Nail It Every Time
After years of baking, I’ve gathered a few tricks that make all the difference. First, consider straining your whisked egg wash through a fine-mesh sieve. This removes any stubborn bits of chalaza or unmixed egg white, ensuring a perfectly smooth, streak-free finish that looks incredibly professional. Second, don’t be heavy-handed! A thin, even coat is always better than a thick one, which can lead to a gummy texture or run down the sides of your pastry, creating an unsightly ‘foot.’ A gentle touch with a good quality pastry brush is key. Lastly, experiment with different types of brushes. Silicone brushes are easy to clean, but natural bristle brushes often provide a smoother, more even application. Egg Wash for Baking
Fun Variations to Try Egg Wash for Baking
The world of Egg Wash for Baking extends beyond the basic egg and liquid! For an intensely golden, almost caramelized color, use only egg yolks mixed with a tiny bit of cream. This is fantastic for brioche or rich sweet breads. If you’re after a delicate, almost invisible sheen, pure egg whites (lightly whisked until foamy) provide a subtle gloss without adding much color, perfect for delicate pastries where you want the natural hue to shine through.
You can also infuse your liquid with a pinch of sugar for sweet applications, or a dash of salt for savory. A tiny brush of melted butter can also stand in for an egg wash in a pinch, giving a beautiful, albeit different, golden finish.
Final Thoughts
It’s often the smallest details that make the biggest difference in baking, and a well-prepared egg wash for baking is a prime example. It’s a simple step that shows you care, transforming a humble dough into a work of art. The satisfaction of pulling a loaf or pie from the oven, its surface gleaming with that perfect golden-brown hue, is truly one of the joys of being a home cook.
So, next time you’re gearing up for a baking session, take those extra two minutes to whip up this golden elixir. You’ll be amazed at the professional finish it imparts and the smiles it brings to the faces of those lucky enough to enjoy your creations. Happy baking, my friends!
Perfect Egg Wash for Baking: Your Secret to Golden Shine
Course: BreakfastCuisine: GlobalDifficulty: Easy4
servings30
minutes40
minutes300
kcalA simple guide to making the perfect egg wash that will give your baked goods a beautiful golden hue and irresistible shine, elevating any pastry.
Ingredients
1 large egg
1-2 teaspoons liquid (milk, water, or cream)
Directions
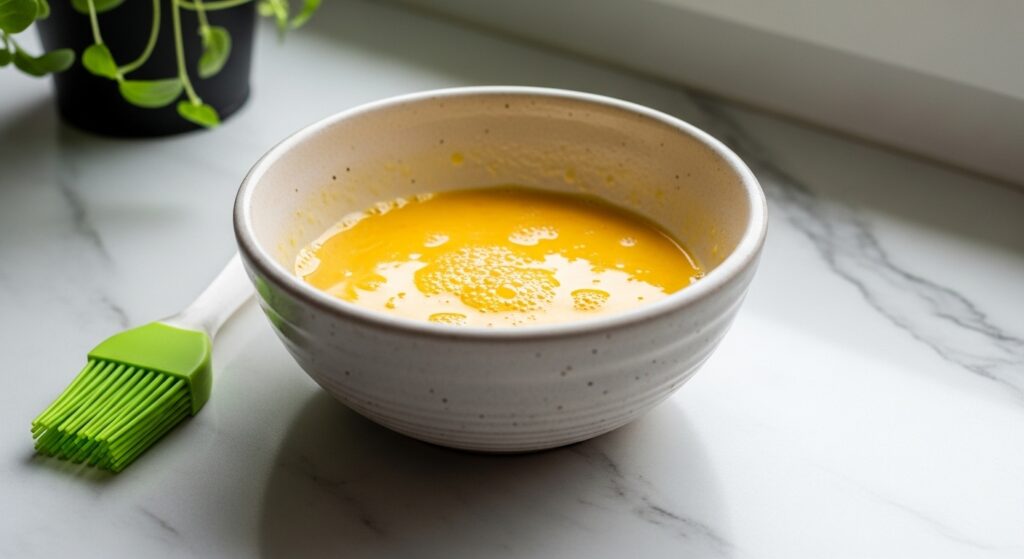
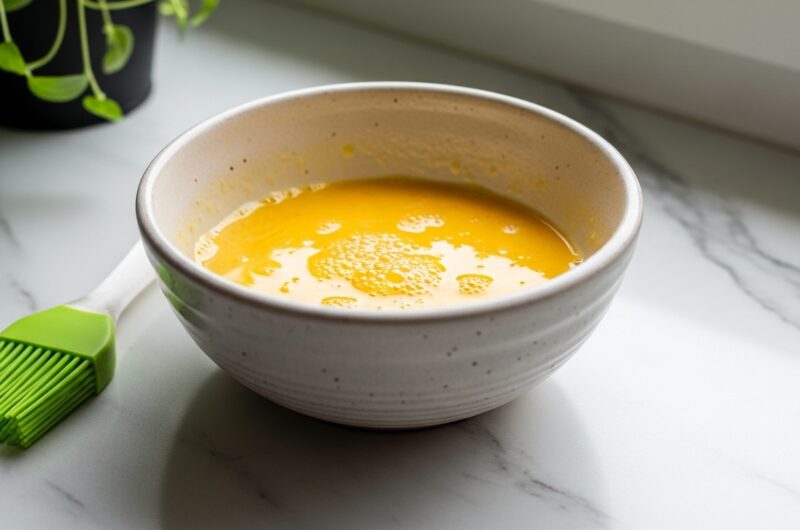
- In a small ceramic bowl, crack the large egg.
- Add 1-2 teaspoons of your chosen liquid (milk for a richer, darker shine; water for a lighter gloss; cream for a very rich, golden finish).
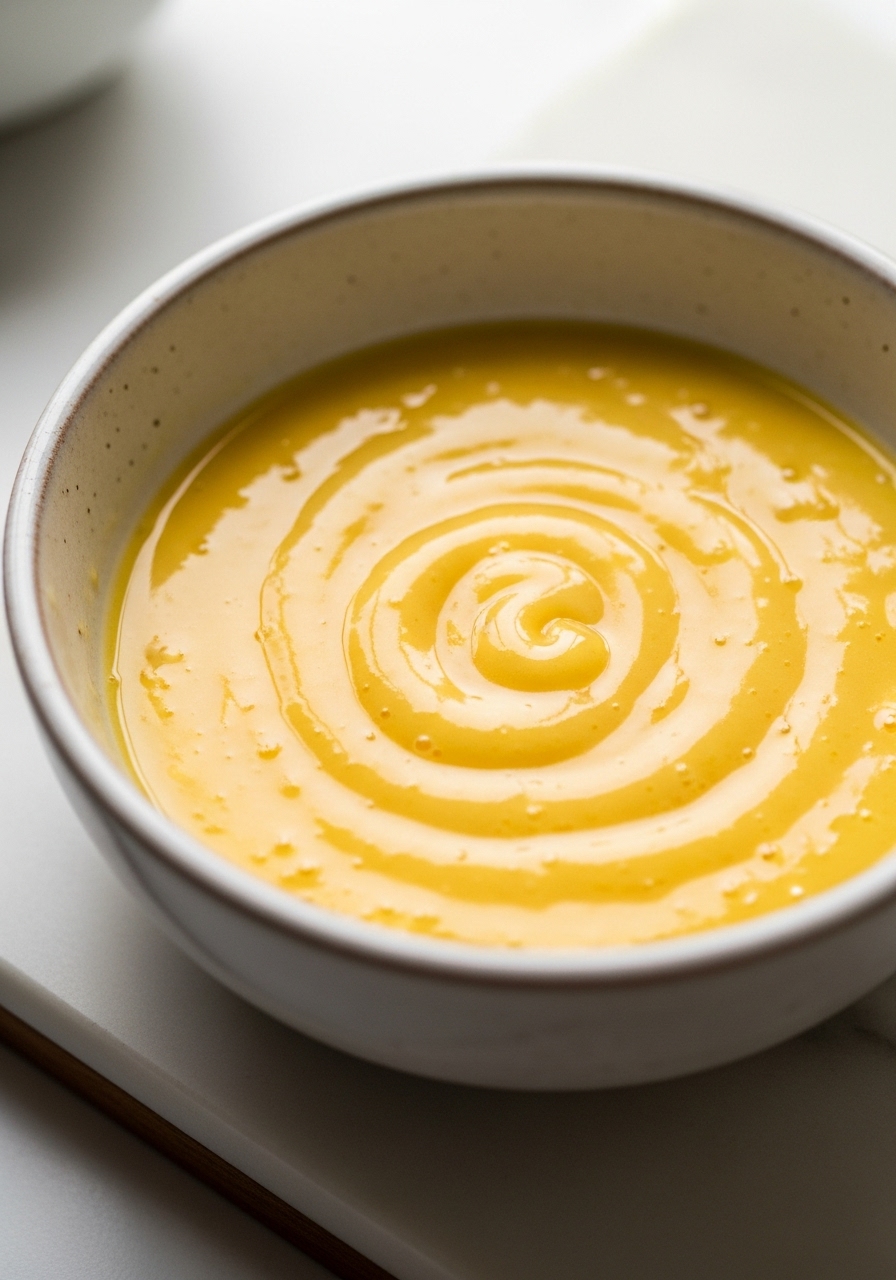
- Whisk vigorously with a fork or a small whisk until the yolk and white are fully combined and no streaks remain. The mixture should be smooth and pale yellow.
- Optional: For an extra smooth, streak-free finish, strain the egg wash through a fine-mesh sieve into another clean bowl to remove any bits of chalaza or unmixed egg white.
- Use a pastry brush to apply a thin, even layer over your dough or pastry before baking. Ensure full coverage but avoid puddling in crevices to prevent a gummy texture.
- Bake your item as directed in its specific recipe, enjoying the beautiful golden-brown and shiny finish that develops.
Notes
- Choose Your Liquid Wisely: For a deep golden, glossy finish, use milk or cream. For a lighter, more subtle sheen, a splash of water works wonders. Each liquid brings its own charm to your baked goods!
- Don’t Overdo It: A thin, even coat is key! Too much egg wash can create a gummy texture or run down the sides, leaving an undesirable ‘foot’ on your pastry. A light hand creates magic.
- Strain for Perfection: For the smoothest, streak-free finish, consider straining your whisked egg wash through a fine-mesh sieve. This removes any bits of chalaza or unmixed egg white, ensuring a truly professional look.