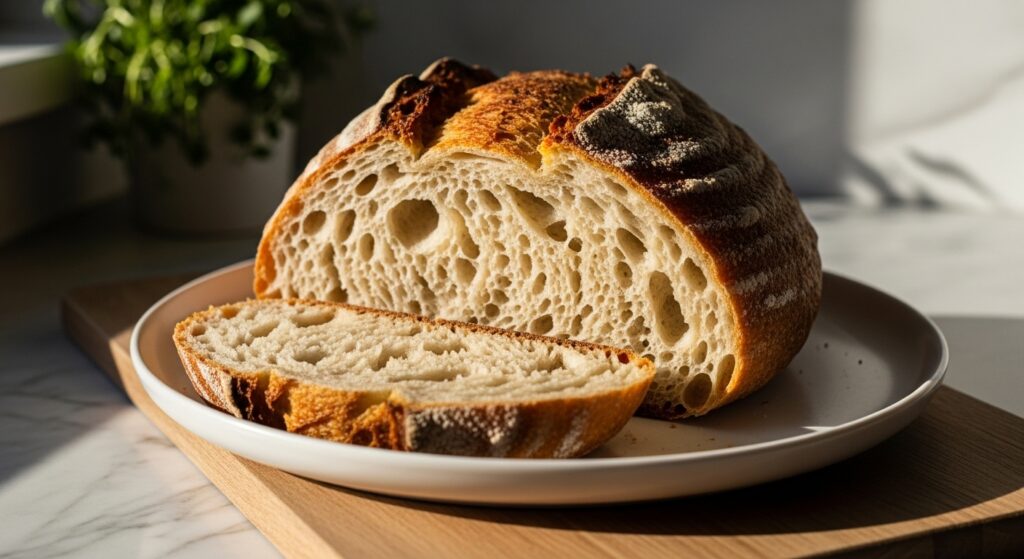
There’s just something inherently comforting about the aroma of freshly baked bread filling your home, wrapping around you like the warmest hug, isn’t there? For me, particularly when it comes to Rustic Italian Bread, it’s more than just food; it’s a profound memory, a comforting feeling, and a cherished tradition. I can still vividly recall the first time I truly nailed a loaf – that satisfying, almost musical crackle of the golden, impossibly crisp crust yielding to the knife, revealing a tender, airy crumb within, a moment accompanied by sunlight streaming through the kitchen window and the house filled with that intoxicating yeasty scent.
My family gathered around, eager for a slice, and in that shared anticipation, I realized this wasn’t just baking, it was pure magic unfolding right before our eyes.
This particular Rustic Italian Bread carries that very magic, designed to bring the comforting, authentic taste of Italy right to your kitchen, without any fuss or intimidation. And while we’re talking about perfect bread, that versatile base for so many delicious dishes, have you ever wondered if you should dry out bread for French toast casserole to achieve that ideal texture? Baking your own Rustic Italian loaf isn’t just a kitchen adventure; it’s an experience that will fill your home with warmth, your senses with incredible aromas, and your belly with pure happiness.
Why You’ll Love This Rustic Italian Bread
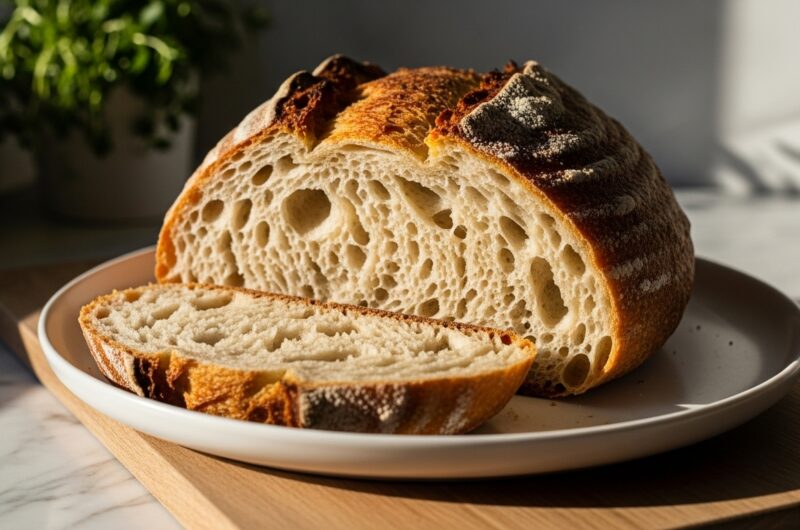
If you’ve ever dreamt of pulling a warm, golden loaf of bread from your oven, one that rivals any artisan bakery, then this rustic Italian bread recipe is for you. It’s got that wonderfully chewy interior and a gloriously crisp crust that makes every bite an absolute delight. Beyond the incredible texture and flavor, there’s a simplicity to this recipe that I adore. It’s truly a beginner-friendly journey into the world of bread making, but with results so impressive, you’ll feel like a seasoned baker. It’s the perfect companion to so many meals, or simply enjoyed on its own with a good quality olive oil.
The Secret to Great Rustic Italian Bread
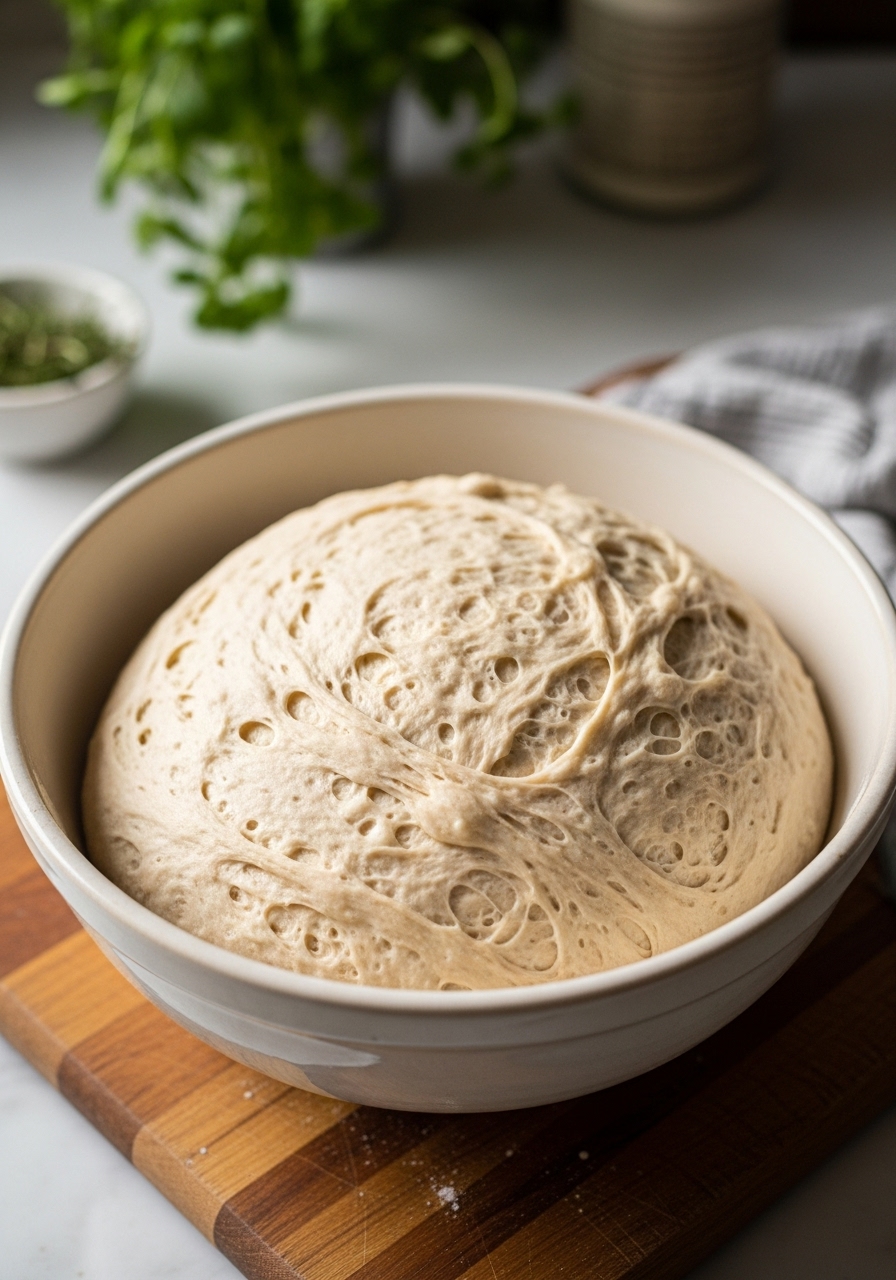
The true magic behind achieving that characteristic open, airy crumb and wonderfully chewy texture in this rustic Italian bread lies in a little something called hydration, and the power of a long, slow rise. We’re going for a dough that’s a bit wetter than you might be used to, and that extra moisture is key to creating those beautiful pockets of air. Couple that with a patient fermentation period, where the yeast works its slow magic, developing deep, complex flavors.
And here’s a little family secret: don’t be afraid to let it get a little shaggy and sticky – embrace the mess, because that’s where the best texture comes from. Oh, and a high-temperature bake in a preheated Dutch oven? Game changer for that perfect crust!
Pro Tips to Nail It Every Time
When it comes to baking truly beautiful rustic Italian bread, a few extra tips can make all the difference. Firstly, invest in a good kitchen scale. Measuring flour by weight, not volume, is a game-changer for consistency, especially with wet doughs. Secondly, for that irresistible crackly crust, try a spritz of water in your oven or place an ice cube in a hot pan on the bottom rack during the first few minutes of baking; the steam does wonders. Lastly, and this is crucial, resist the urge to slice into your loaf immediately after it comes out of the oven.
Let it cool completely on a wire rack for at least an hour. This allows the internal structure to set and the moisture to redistribute, preventing a gummy texture and ensuring that perfect crust.
Fun Variations to Try
While this rustic Italian bread is absolutely perfect as is, it’s also a fantastic canvas for creative kitchen adventures! For an herbaceous twist, fold in a tablespoon or two of dried Italian herbs, or a handful of fresh chopped rosemary and a sprinkle of coarse sea salt before the final rise. If you’re a cheese lover, try incorporating some grated Parmesan or shredded provolone into the dough for a savory, cheesy loaf that’s incredible with soup.
And for those who enjoy a bit of heat, a pinch of red pepper flakes can add a delightful warmth. Don’t be afraid to experiment with olives, sun-dried tomatoes, or even roasted garlic – just keep the additions to about 1/2 cup to avoid weighing down the dough.
Final Thoughts
Baking this rustic Italian bread is more than just following a recipe; it’s an experience. It’s about the anticipation as the dough slowly rises, the comforting warmth that fills your kitchen, and the sheer joy of sharing a homemade masterpiece. Every time I pull a golden, fragrant loaf from the oven, I’m reminded of the simple, profound pleasures of home cooking. It’s a recipe that has brought so much warmth and happiness to my family, and I truly hope it brings the same to yours. So, gather your ingredients, embrace the process, and get ready to create something truly special. Happy baking, my friends!
My Cozy Rustic Italian Bread: A Weekend Baking Dream
Course: BreadCuisine: ItalianDifficulty: Easy4
servings30
minutes40
minutes300
kcalThis Rustic Italian Bread recipe delivers a delightfully crusty exterior and a soft, airy interior, perfect for any meal. Easy to make at home!
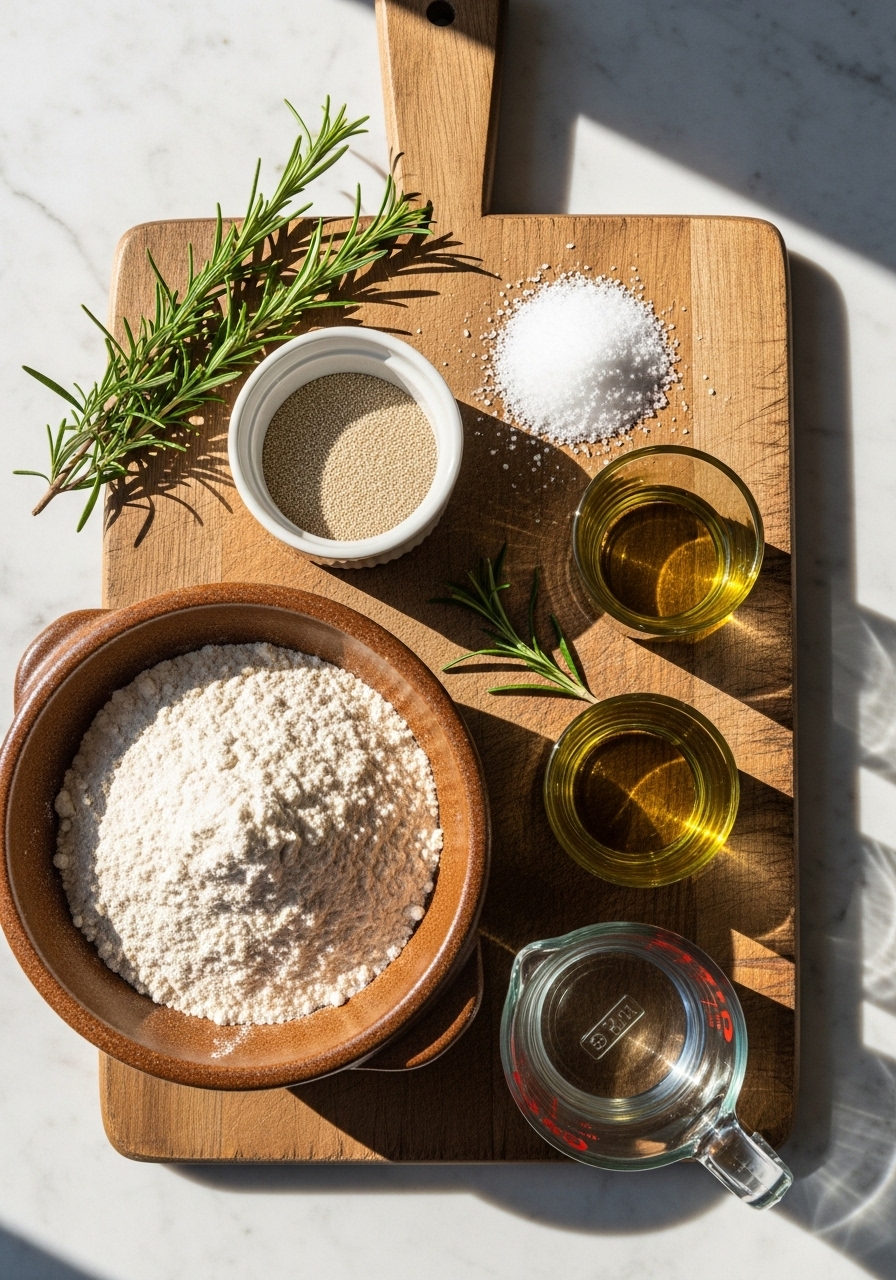
Ingredients
3 ½ cups (420g) all-purpose flour or bread flour
2 teaspoons active dry yeast
1 ½ teaspoons salt
1 ½ cups (360ml) warm water (105-115°F / 40-46°C)
1 tablespoon olive oil, plus more for greasing
Cornmeal or semolina, for dusting (optional)
Directions
- In a large mixing bowl, combine the flour, yeast, and salt. Whisk briefly to combine.
- Gradually add the warm water and olive oil to the dry ingredients, mixing with a wooden spoon or spatula until a shaggy, sticky dough forms. Do not knead extensively; just ensure all flour is incorporated.
- Cover the bowl tightly with plastic wrap or a damp kitchen towel. Let the dough rise at room temperature for 1.5 to 2 hours, or until doubled in size and bubbly.
- Lightly flour your work surface and gently scrape the dough onto it. It will be sticky. Gently fold the edges of the dough towards the center a few times to create some tension on the surface, forming a loose ball.
- Transfer the dough to a parchment-lined baking sheet or a proofing basket dusted with cornmeal/semolina. Cover loosely and let it proof for another 30-45 minutes while you preheat the oven.
- Preheat your oven to 450°F (230°C) with a Dutch oven (if using) inside, for at least 30 minutes. If not using a Dutch oven, preheat an empty baking sheet for 10 minutes before baking.
- Carefully transfer the dough to the hot Dutch oven (or the preheated baking sheet). If using a Dutch oven, cover it and bake for 30 minutes.
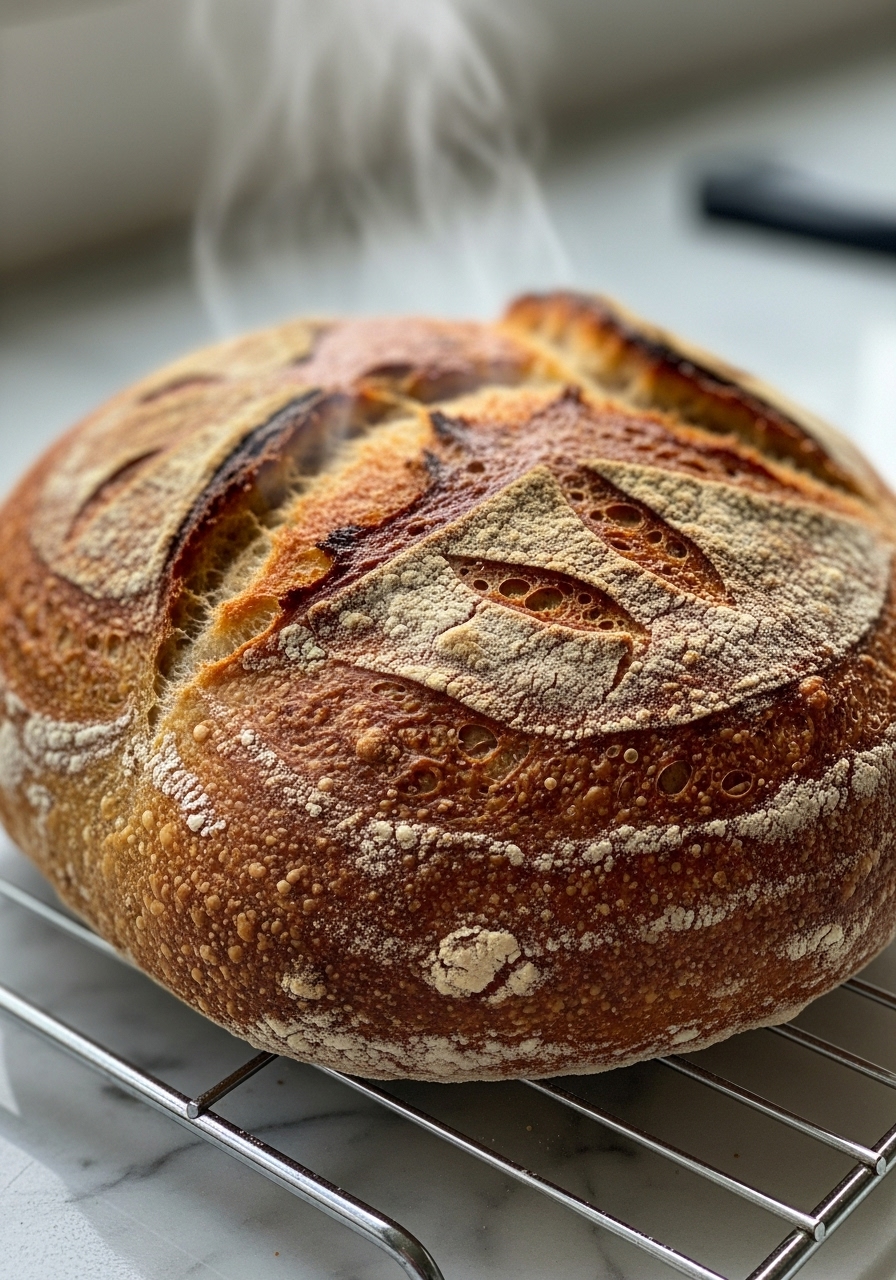
- After 30 minutes, remove the lid (if using Dutch oven) and continue baking for another 15-20 minutes, or until the crust is deeply golden brown and sounds hollow when tapped on the bottom.
- Carefully remove the bread from the oven and transfer it to a wire rack to cool completely before slicing and serving. This is crucial for the best texture!
Notes
- Temperature Matters: Ensure your water is the right temperature (105-115°F) to properly activate the yeast. Too hot will kill it, too cold won’t wake it up!
- No-Knead Magic: Resist the urge to over-knead this dough. Its beauty comes from minimal handling and a long, slow rise, which develops gluten naturally for that amazing texture.
- The Cool Down Club: As tempting as it is, letting your bread cool completely on a wire rack is essential. Slicing too early can result in a gummy interior as the steam hasn’t fully escaped and set the crumb.