Healthier Homemade Crunch Bars – Oh, the simple, unadulterated joy of a classic crunch bar! I can still vividly recall those school days, the anticipation building as I unwrapped that shiny foil to reveal a bar of pure chocolatey bliss, culminating in that incredibly satisfying snap. It was a fleeting moment of sugary happiness, a little escape. But as my own kitchen adventures deepened, so did my curiosity about what truly went into those beloved treats, sparking a desire to recreate that same comforting nostalgia with ingredients I could genuinely feel good about.
My first attempts, I’ll admit, were far from perfect; my healthier chocolate seized and my rice crispies suffered a soggy fate. Yet, with a healthy dash of persistence and a sprinkle of kitchen magic, a delightful family secret slowly took shape. This journey to perfect Healthier Homemade Crunch Bars has been a true passion project, ensuring every bite delivers on taste without compromise. It’s about taking those cherished childhood memories and reimagining them for a modern, mindful pantry.
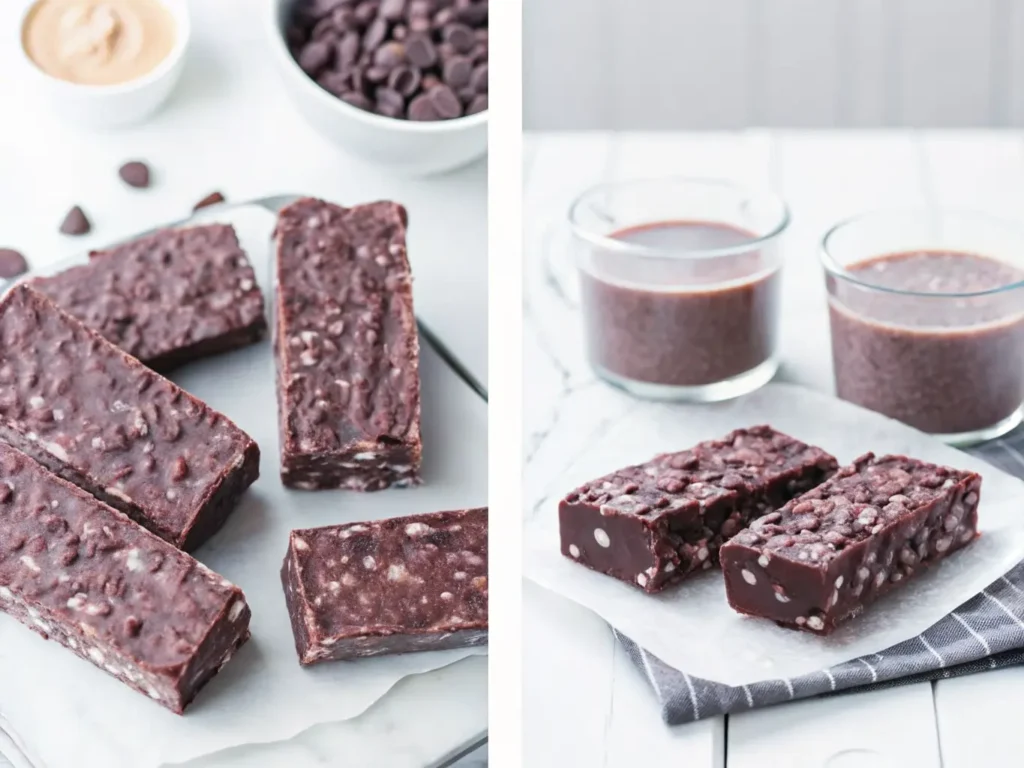
Now, you can recapture that delightful texture, rich chocolate, and satisfying crunch that makes these Easy Healthier Homemade Crunch Bars (vegan + gluten-free) truly special. The magic is all there, refined and reimagined for you to enjoy. And if you’re always on the hunt for more wholesome, delicious treats to add to your repertoire, don’t forget to check out my equally delightful banana oatmeal bars right here on Taste Charm too!
The Magic Behind Perfect Healthier Homemade Crunch Bars: Ingredients Unveiled
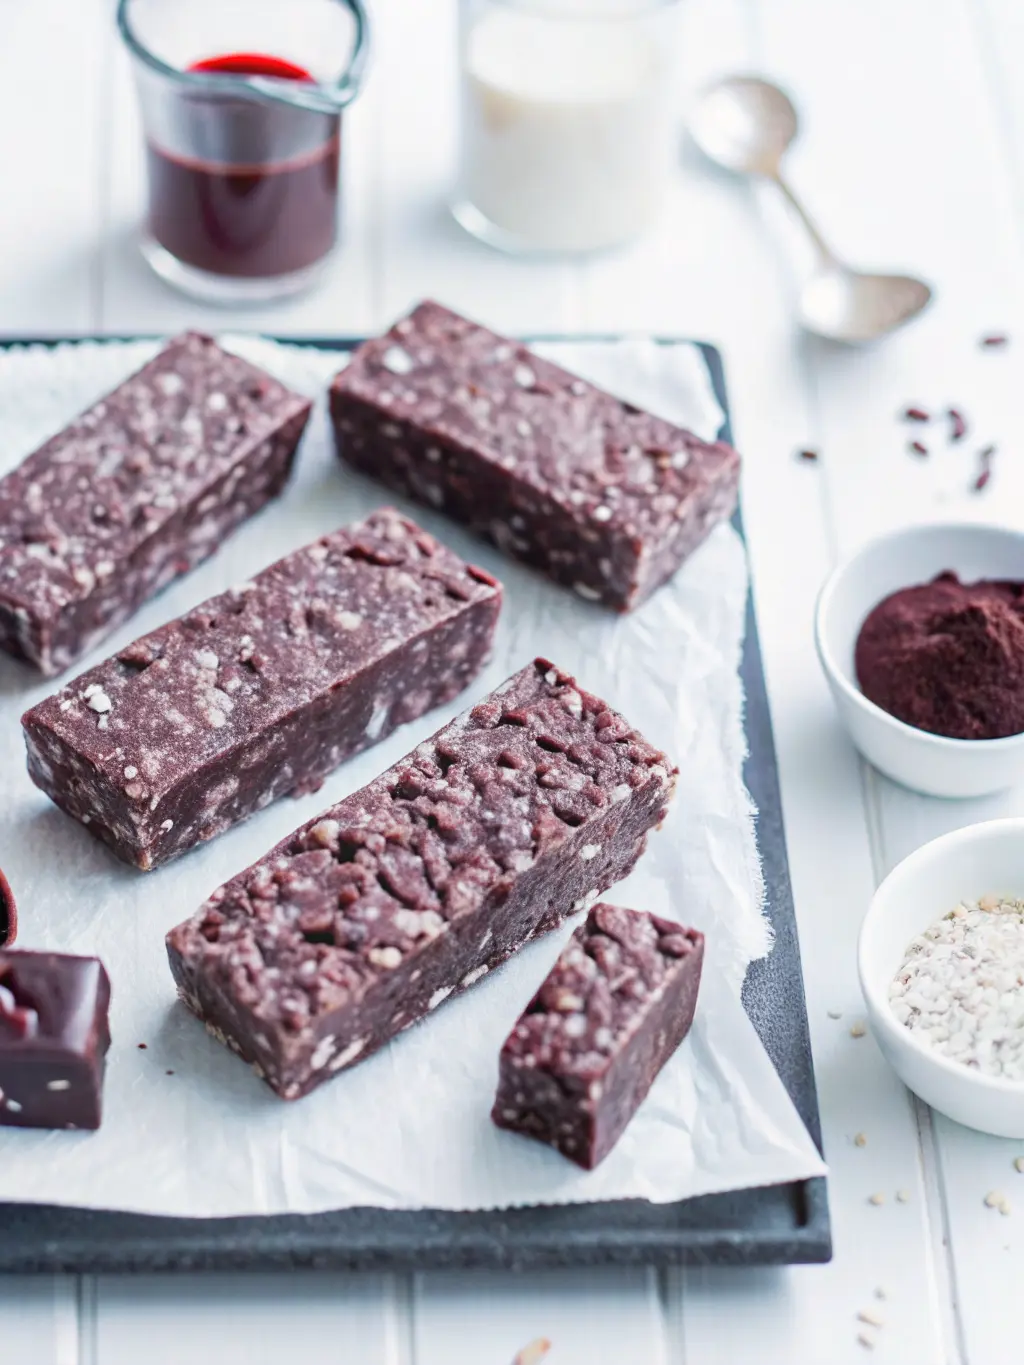
Crafting truly amazing Healthier Homemade Crunch Bars starts with choosing the right components. Forget complicated lists! We’re talking quality dark chocolate (vegan, of course, and rich in cacao), crisp puffed rice cereal (check for gluten-free certification if needed), a touch of maple syrup for natural sweetness, and a swirl of coconut oil to bring it all together. Taste Charm insists that every ingredient contributes to the final symphony of flavor and texture. It’s about building layers of deliciousness, ensuring each bite delivers that delightful snap and melt-in-your-mouth goodness we all crave.
Mastering the Melt: Tips for Creating Healthier Homemade Crunch Bars
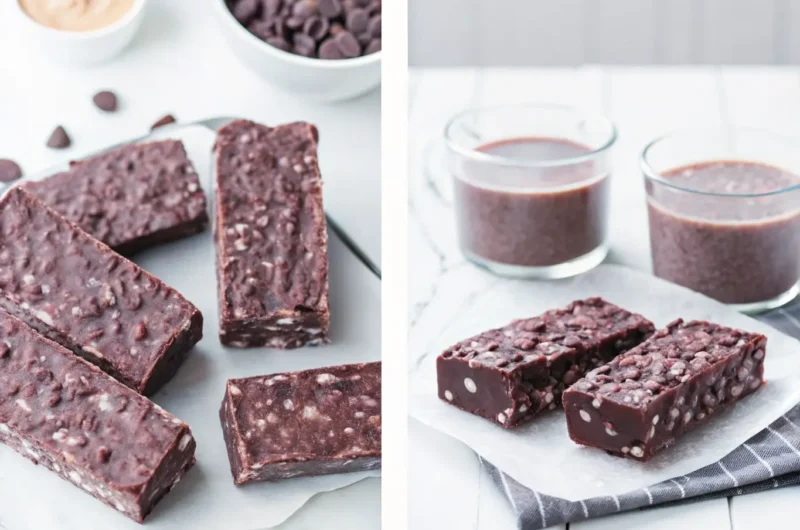
The secret to perfectly coated, utterly addictive Healthier Homemade Crunch Bars lies in the melt. Gentle heat is your best friend here. Whether you use a double boiler or microwave in short bursts, never rush the chocolate. Combine your chosen dark chocolate with coconut oil and maple syrup, stirring until smooth and glossy. This creates a luxurious, pourable base that beautifully coats every single puffed rice kernel. This careful melting process is where the magic really begins, setting the stage for the irresistible texture that defines these bars, ensuring they hold their shape and deliver on that promised crunch.
The Art of the Crunch: Achieving Ideal Texture in Healthier Homemade Crunch Bars
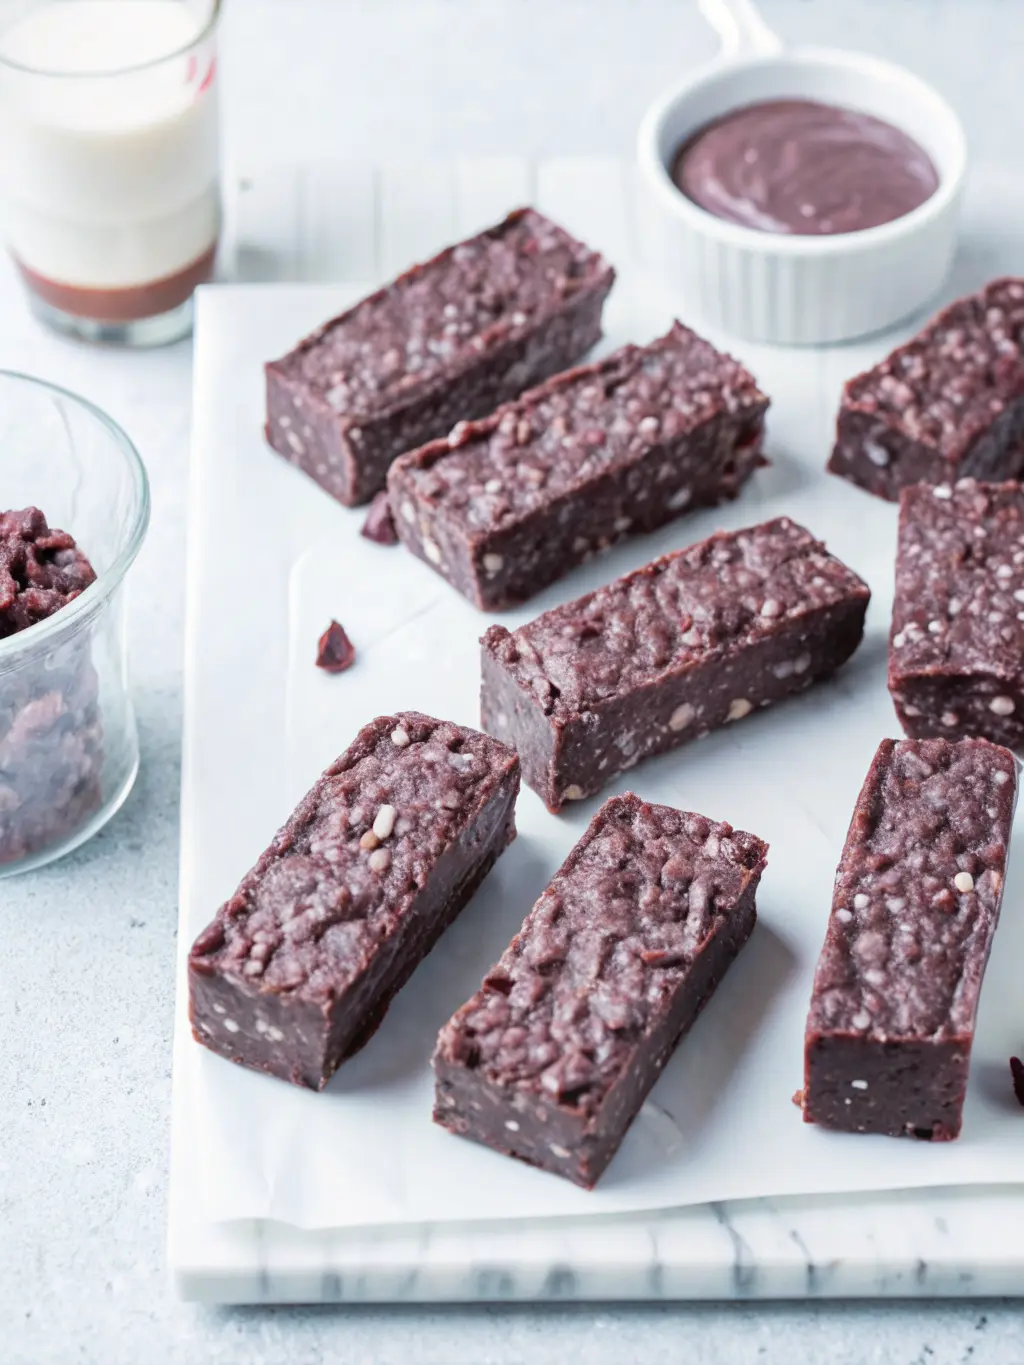
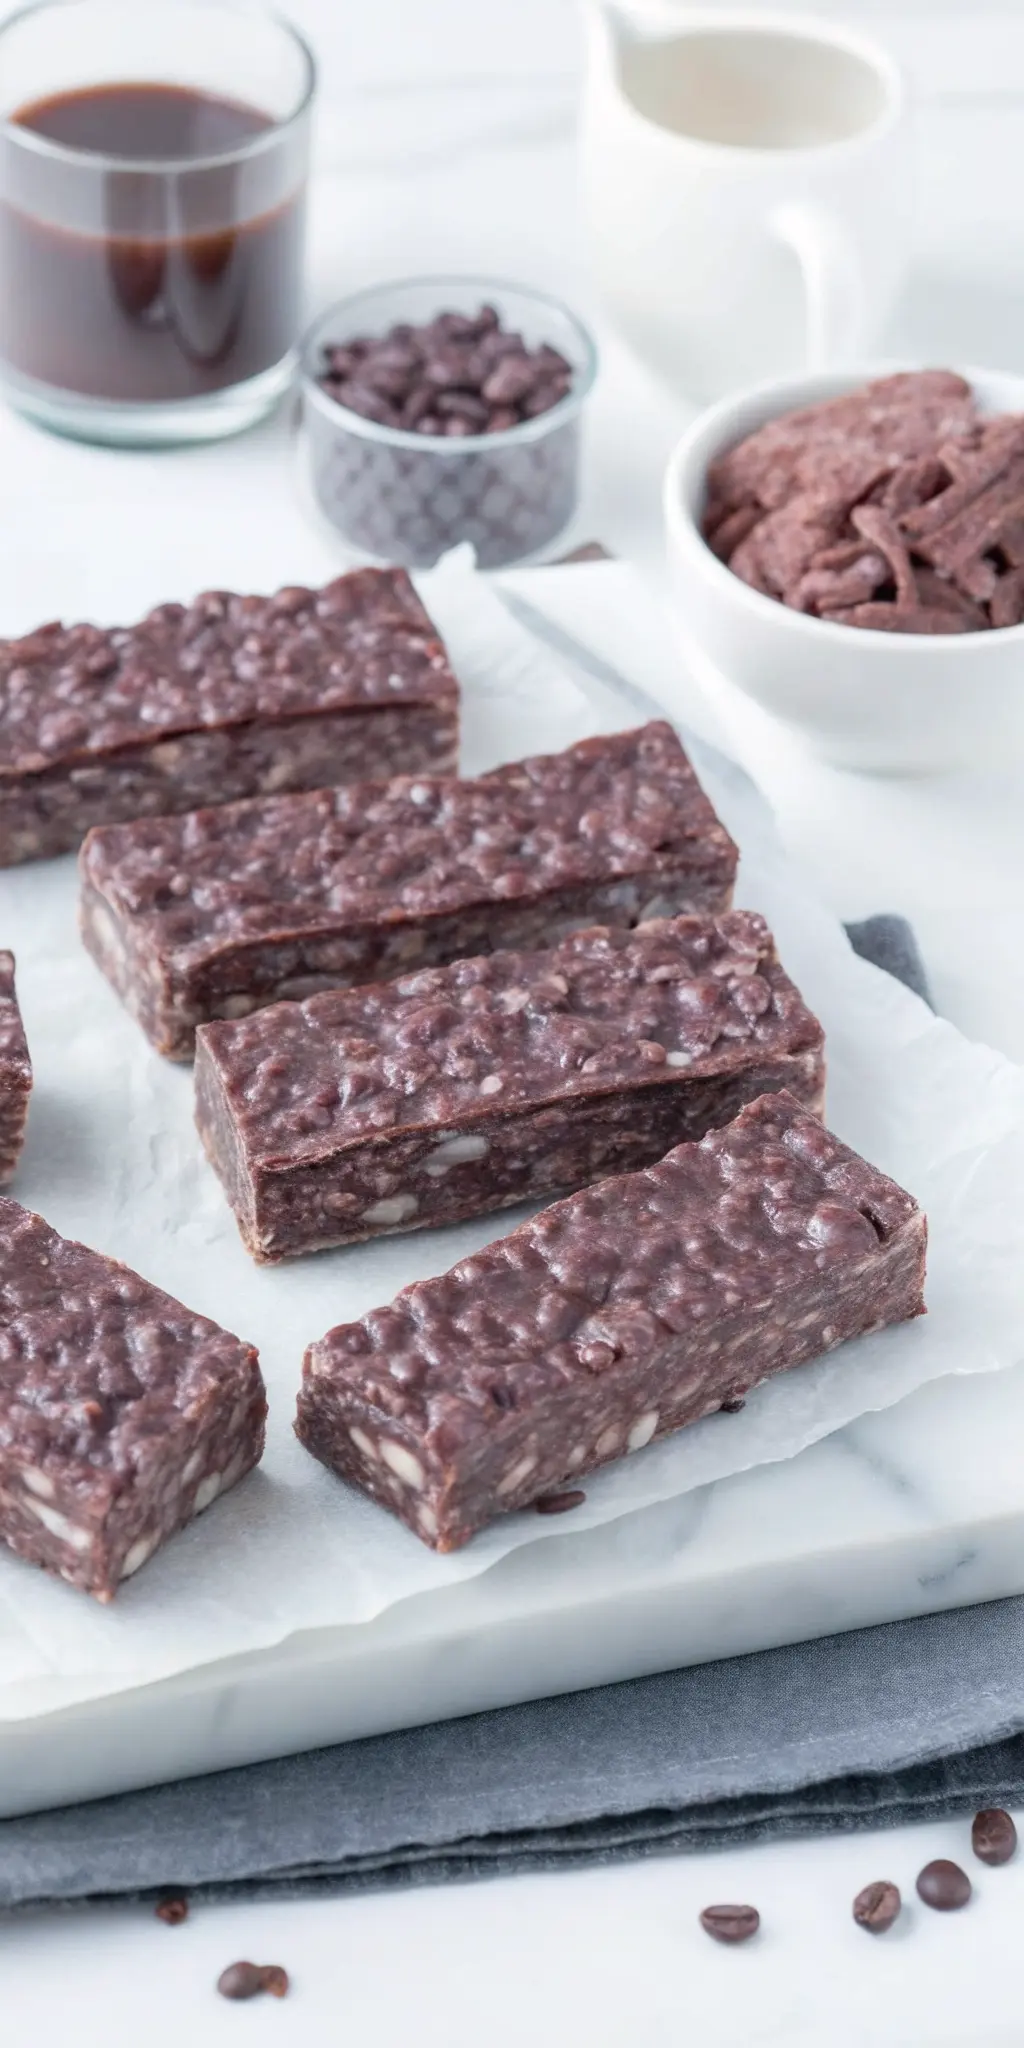
What’s a crunch bar without its signature crunch? For these Healthier Homemade Crunch Bars, it’s paramount! Once your chocolate mixture is silky smooth, it’s time to fold in the puffed rice cereal. Do this quickly but thoroughly, ensuring every grain is enrobed in chocolate without losing its airiness. Press the mixture firmly into a parchment-lined pan – this compaction is key for a sturdy bar that won’t crumble. Taste Charm says it’s like tucking in a blanket; you want it snug and even. A good chill in the fridge or freezer will then solidify everything, locking in that delightful crispness that makes these bars so irresistible.
From Pan to Perfection: Slicing Your Healthier Homemade Crunch Bars
Patience is a virtue, especially when it comes to cutting your Healthier Homemade Crunch Bars. Once fully chilled and firm, remove the slab from the pan using the parchment paper overhang. For clean, neat cuts, use a sharp, warm knife. Run your knife under hot water and wipe it dry between slices for the smoothest edges. This prevents the chocolate from cracking and ensures each bar looks as good as it tastes. Remember, these bars are a testament to the fact that healthy eating doesn’t mean sacrificing indulgence or presentation. Each perfect bar is a little victory, ready to be enjoyed.
Beyond the Basic: Customizing Your Healthier Homemade Crunch Bars
While the classic Healthier Homemade Crunch Bars are phenomenal, don’t shy away from making them your own! Taste Charm loves a good experiment. Consider adding a sprinkle of sea salt flakes for a sweet and salty kick, a dollop of your favorite nut butter to the chocolate mixture for extra richness, or even a dash of vanilla extract. For an extra layer of flavor, a sprinkle of toasted shredded coconut or a few chopped nuts on top before chilling can elevate them further. These bars are a canvas for your creativity, allowing you to tailor them to your exact cravings and preferences, making every batch a unique kitchen adventure.
Unwrap Sweet Nostalgia: Easy Healthier Homemade Crunch Bars (Vegan + GF!)
Course: DinnerCuisine: AmericanDifficulty: Easy4
servings30
minutes40
minutes300
kcalEasy, vegan, and gluten-free crunch bars made with dark chocolate, puffed rice cereal, maple syrup, and coconut oil for a guilt-free nostalgic treat.
Ingredients
1 cup (170g) vegan dark chocolate chips
1/4 cup (60ml) coconut oil
1/4 cup (60ml) maple syrup
1 teaspoon vanilla extract (optional)
4 cups (100g) puffed rice cereal (gluten-free if needed)
Pinch of sea salt (optional, for topping)
Directions
- Line an 8×8 inch (20×20 cm) baking pan with parchment paper, leaving an overhang on all sides. This will make it easier to lift the bars out later.
- In a heatproof bowl set over a small saucepan of simmering water (or in a microwave-safe bowl, heating in 30-second intervals), melt the dark chocolate chips, coconut oil, and maple syrup. Stir occasionally until completely smooth and glossy.
- Remove the bowl from the heat and stir in the optional vanilla extract.
- Add the puffed rice cereal to the melted chocolate mixture. Stir gently but thoroughly until all the cereal is evenly coated.
- Pour the mixture into the prepared baking pan. Using a spatula or the back of a spoon, press the mixture down firmly and evenly into the pan. This compaction is crucial for sturdy bars.
- If using, sprinkle a pinch of sea salt over the top of the pressed mixture.
- Place the pan in the refrigerator for at least 1-2 hours, or until the bars are completely firm. Alternatively, freeze for 30 minutes for a quicker set.
- Once firm, use the parchment paper overhang to lift the slab of crunch bars out of the pan. Place it on a cutting board.
- Using a sharp knife, cut the slab into bars of your desired size. For clean cuts, warm the knife under hot water and wipe it dry between slices.
- Store the Healthier Homemade Crunch Bars in an airtight container in the refrigerator for up to 1 week, or at room temperature if your kitchen is cool.
Notes
- For extra flavor, add a tablespoon of your favorite nut butter (like almond or peanut butter) to the chocolate mixture while melting.
- Ensure your puffed rice cereal is fresh for maximum crunchiness.
- If the chocolate mixture starts to thicken too much while stirring in the cereal, you can gently warm it again over the double boiler for a few seconds.