Stop Wasting Flour – Oh, my sweet baking friends, have you ever poured your heart and soul into a recipe, followed every step with hopeful anticipation, only for your cake to come out dense enough to be a paperweight, or your cookies disappointingly dry and crumbly? I’ve been there more times than I care to admit! For years, I blamed my oven, the recipe itself, or even the fickle phase of the moon.
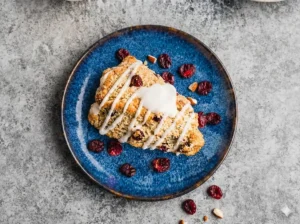
But then, a little kitchen whisper (and a lot of trial and error) revealed the true culprit behind my “hit or miss” results: how I was measuring my flour. It sounds incredibly simple, doesn’t it? Yet consistently inaccurate flour measurement is the silent saboteur, leading to countless ruined batches. Imagine pouring your time and precious ingredients into something like my beloved how to make scones recipe, only for them to turn out crumbly instead of tender, all because of an extra scoop or two of flour. It’s truly disheartening, and the very reason why learning to truly stop wasting flour is so crucial for any home baker.
But fear not, because mastering this one fundamental technique will genuinely transform your baking from a gamble to a guaranteed delight every single time! If you’re ready to dive even deeper and conquer this kitchen essential with absolute confidence, I highly recommend checking out Bakemode’s ultimate guide to measuring flour for an invaluable deep dive. Let’s finally stop wasting flour and start baking brilliance, together!
Why You’ll Love This No-BS Guide
This guide Stop Wasting Flour isn’t just about a technique; it’s about unlocking your full baking potential. You’ll love the confidence that comes with knowing your measurements are spot-on, leading to consistently light, fluffy, and perfectly textured baked goods. No more guessing, no more disappointments, and best of all, you’ll actually stop wasting flour! It’s the foundational skill that makes every other recipe shine, saving you time, ingredients, and the heartache of a baking fail. Think of it as your secret weapon for kitchen success!
The Secret to Great Flour Measurement
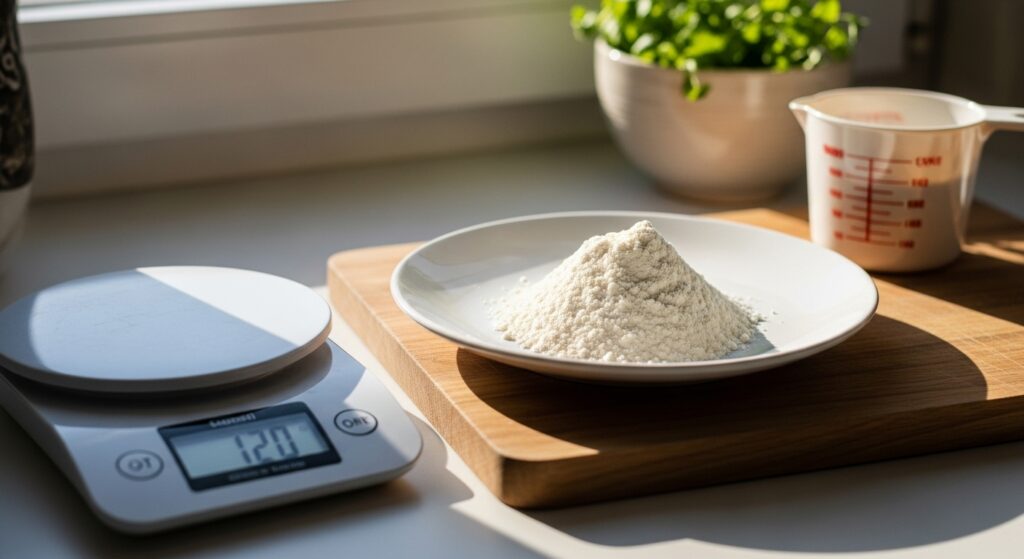
The big secret why Stop Wasting Flour, the one that makes all the difference, is surprisingly simple: ditch the scoop and embrace the spoon and level method, or better yet, a digital kitchen scale. When you scoop flour directly from the bag with your measuring cup, you compact it, adding up to 25% more flour than a recipe intends! This extra flour leads to dry, dense, and heavy bakes. Instead, gently spoon flour into your measuring cup until overflowing, then level it off with a straight edge. For true precision, though, a kitchen scale weighing by grams is the ultimate game-changer. It eliminates all guesswork and ensures perfect consistency every time.
Pro Tips to Nail It Every Time
Beyond the basic spoon and level or scale method, a few extra tricks can elevate your flour game. Firstly, always fluff your flour in its container with a fork or whisk before measuring, especially if it’s been sitting for a while. This aerates it and prevents compaction. Secondly, consider sifting your flour after measuring for recipes that call for extra lightness, like delicate cakes or pastries. Also, remember that different types of flour have varying densities, so a kitchen scale truly becomes invaluable when switching between all-purpose, whole wheat, or cake flour. Humidity can also affect flour’s weight, making a scale even more reliable in different climates.
Stop Wasting Flour – Fun Variations to Try
While this guide is about one core technique, mastering accurate flour measurement opens up a world of possibilities for your baking. Once you confidently know how to measure, you can experiment with various flour types, knowing you’re giving each recipe the best possible start. Try baking a batch of classic chocolate chip cookies using the spoon and level method, and then another batch using a kitchen scale. You’ll be amazed at the subtle, delicious differences in texture! You can also apply this precision to other dry ingredients like cocoa powder or powdered sugar, ensuring every element of your bake contributes to its perfect outcome. It’s about finding consistency across your entire ingredient list.
Final Thoughts
Learning to measure flour correctly was one of those ‘aha!’ moments in my kitchen journey that completely changed how I bake. It took my bakes from ‘pretty good’ to ‘oh-my-goodness-you-have-to-try-this!’ It’s a small adjustment with a huge impact, and it’s truly the secret to stop wasting flour and unlock your inner baking superstar. I hope this guide empowers you to tackle any recipe with confidence, knowing that your foundational measurements are perfectly precise. Happy baking, my friends – may your cakes be fluffy and your cookies divine!
Stop Wasting Flour: My Top Secret to Perfect Bakes!
Course: Baking TipsCuisine: Baking BasicsDifficulty: Easy4
servings30
minutes40
minutes300
kcalUnlock perfect baking consistency and stop wasting flour with this essential guide to accurate flour measurement, covering both the spoon-and-level method and the precision of a digital kitchen scale.
Ingredients
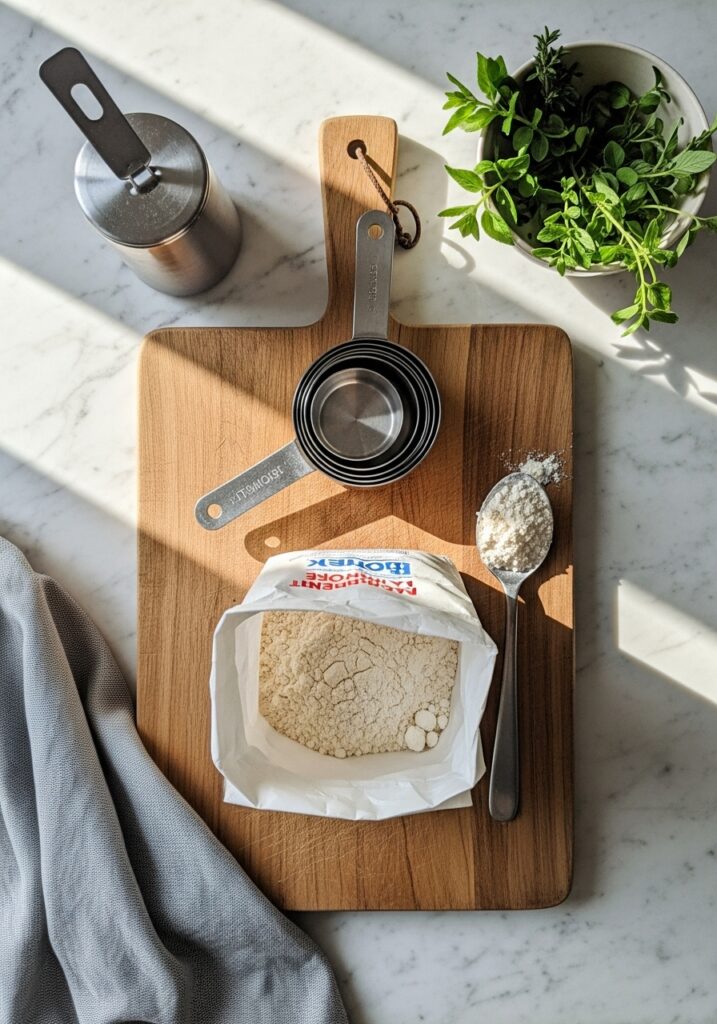
All-purpose flour
Digital kitchen scale (optional, but highly recommended)
Dry measuring cups (various sizes)
Spoon (for spoon and level method)
Straight edge (like a knife or ruler) for leveling
Whisk or fork (for fluffing flour)
Directions
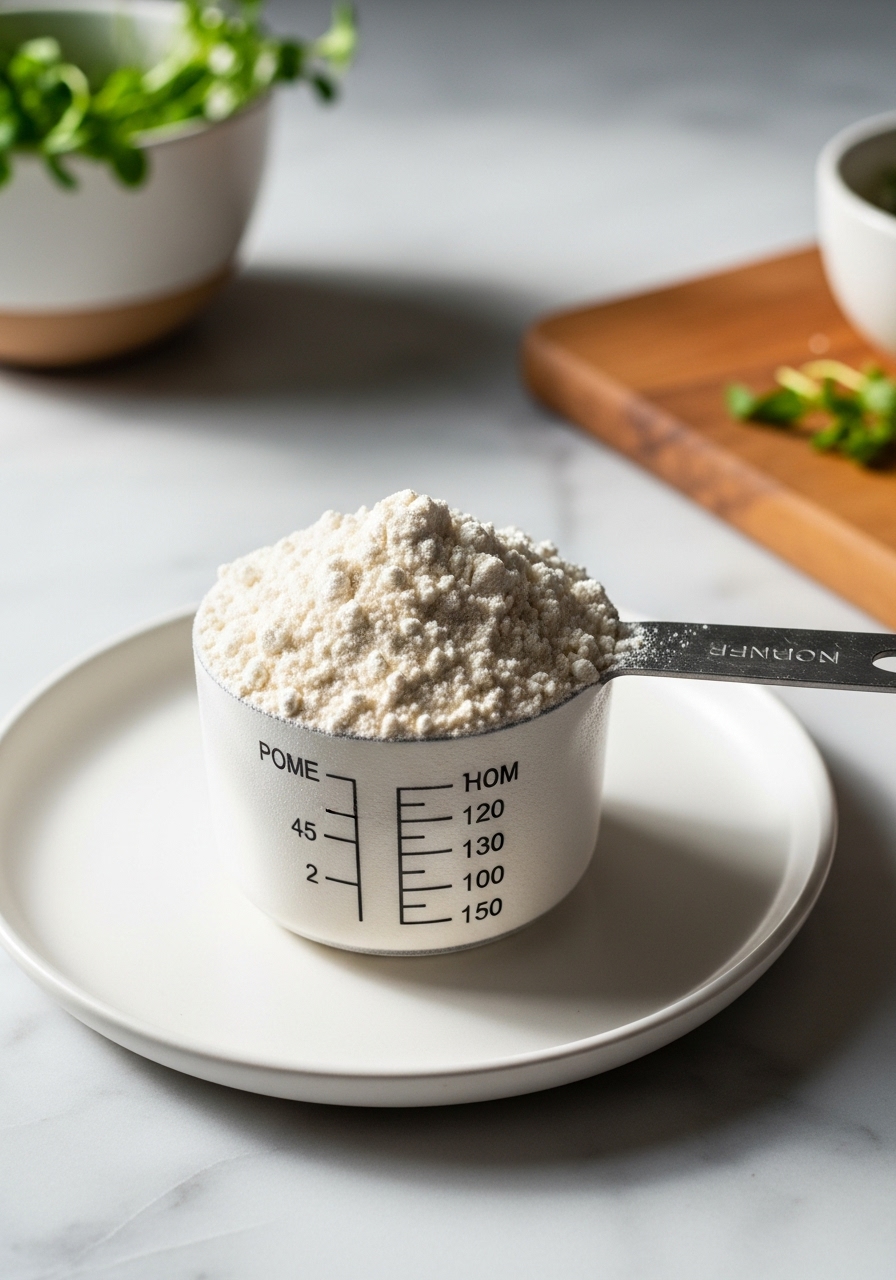
- 1. If using measuring cups: First, gently fluff the flour in its container using a whisk or fork. This aerates the flour, preventing it from packing down too much.
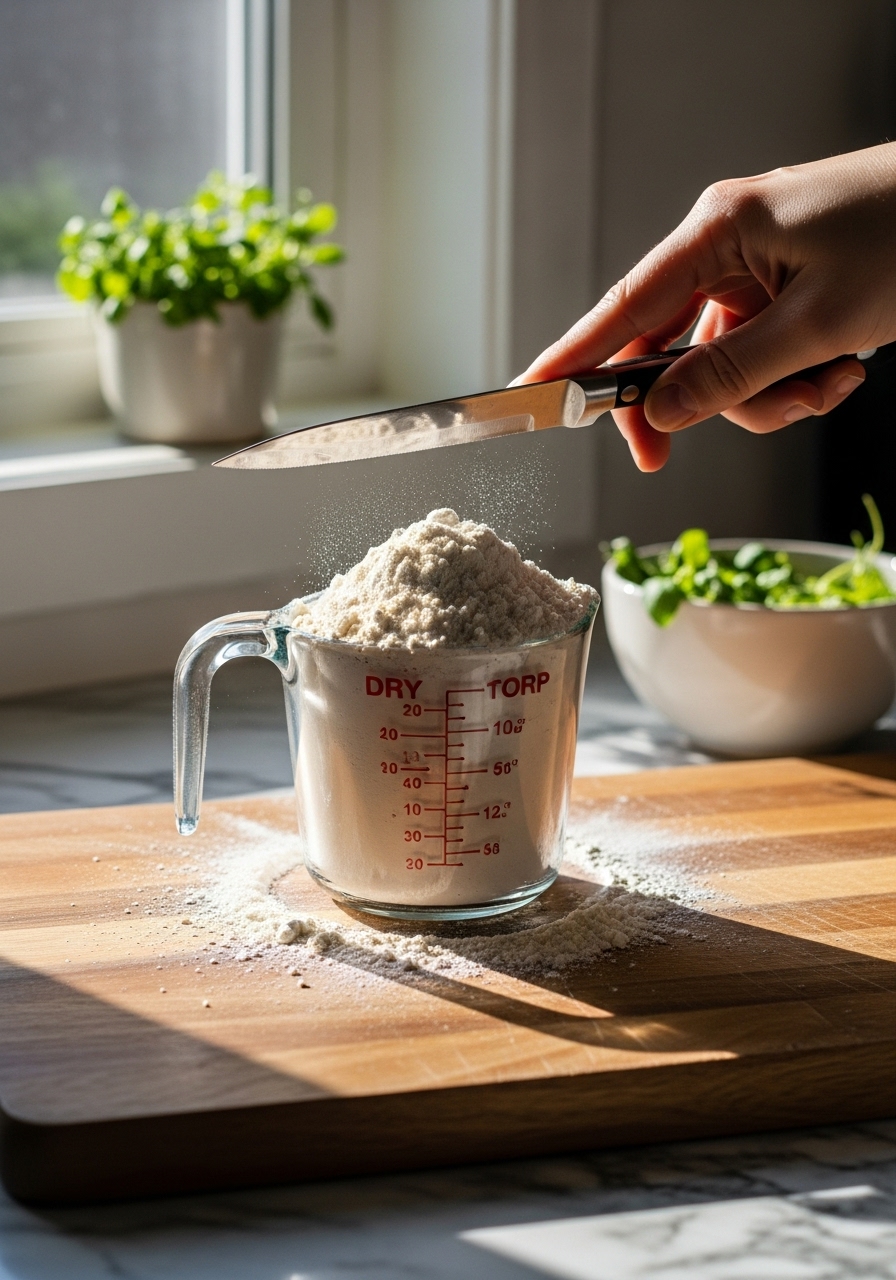
- 2. Using a spoon, carefully scoop flour from the container and transfer it into your dry measuring cup. Avoid packing the flour down. Continue until the cup is overflowing slightly.
- 3. Take a straight edge, such as the back of a knife or a flat ruler, and level off the excess flour by scraping it across the top of the measuring cup. Do this gently so as not to compact the flour.
- 4. Do not tap the measuring cup or shake it, as this will cause the flour to settle and you’ll end up with more than intended, leading to dry bakes.
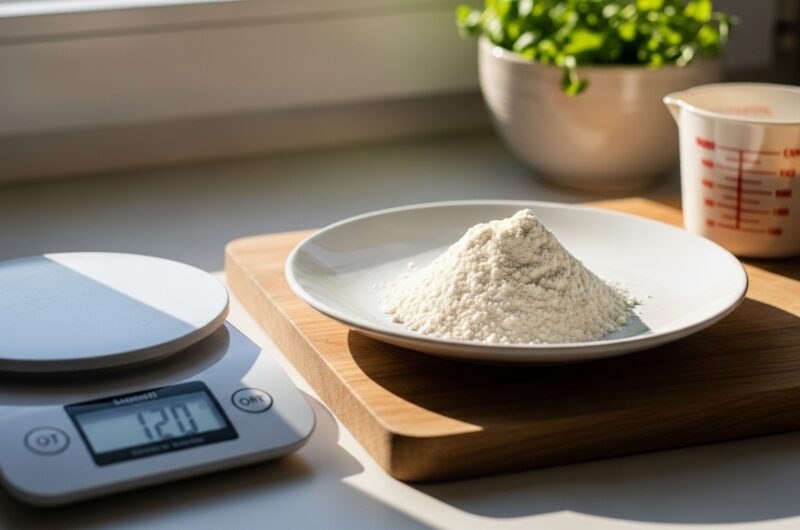
- 5. If using a digital kitchen scale (the most accurate method): Place your empty bowl or container on the scale and ‘tare’ it to zero, effectively zeroing out the weight of the container.
- 6. Gently spoon flour into the bowl on the scale until it reaches the desired weight specified in your recipe (most accurate recipes will specify grams, e.g., ‘120g flour’).
- 7. If your recipe only provides volume measurements (e.g., ‘1 cup flour’), you can find common weight conversions online or in baking books to use with your scale. A general rule for all-purpose flour is 1 cup = 120-125 grams, but always check for specifics.
Notes
- The Scale Advantage: While the spoon and level method is a huge improvement over scooping directly, a digital kitchen scale is truly your best friend for baking precision. It eliminates variables like flour density and how tightly you pack, giving you consistently accurate results every single time. It’s an investment that pays off in perfect bakes!
- Fluff Before You Measure: Always, always, always fluff your flour with a fork or whisk before measuring, regardless of the method you choose. Flour settles and compacts in the bag or container over time, and a quick fluff ensures you’re starting with aerated flour, which is key for a lighter, more tender bake.
- Know Your Flours: Different flours have different densities. For example, whole wheat flour is generally heavier than all-purpose flour. Using a kitchen scale helps you account for these differences more accurately than volume measurements, ensuring your recipe truly works as intended for the specific flour you’re using, making you a more versatile baker.