Classic Pastry Scones are the heart and soul of my weekend morning ritual, offering a sense of peace to our kitchen before the rest of the world begins its noisy hum. There is something truly magical about the way the cold butter and flour crumble together under the pastry cutter, especially when the soft morning light hits the marble counter to illuminate the floating flour dust. While I often enjoy experimenting with different textures, like my perfect lemonade scones recipe, there is a timeless elegance in this traditional method that always brings me back to the basics of baking.
I still remember my very first batch years ago where I worked the dough far too much and they came out like heavy hockey pucks, but that initial failure taught me to always move with a light, quick touch. Now, mastering these Classic Pastry Scones represents a celebration of patience and the joy of creating something beautiful from simple, honest ingredients. As the scent of sweet vanilla and tart berries wafts through the house, it calls everyone to the table for a shared moment of warmth that makes every minute of preparation worth it.
The Foundation of Classic Pastry Scones
The secret to achieving the perfect texture in these scones lies entirely in the temperature of your ingredients. You must ensure that your butter is chilled to the point of being hard, as these tiny pockets of fat are what create the characteristic steam vents during baking. When the cold butter hits the hot oven, it evaporates and pushes the layers of dough apart, resulting in that coveted flaky rise.
We always suggest placing your cubed butter in the freezer for ten minutes before you begin mixing. This prevents the warmth of your kitchen from melting the fat prematurely into the flour, which would result in a tough, bread-like texture rather than a light pastry crumb. Keeping your heavy cream and eggs refrigerated until the very last second is equally vital for the success of the dough structure.
Essential Ingredients for Classic Pastry Scones
Quality ingredients make a world of difference when you are aiming for bakery-style results at home. For the fruit component, we prefer using dried cranberries because they provide a concentrated burst of tartness that contrasts beautifully with the rich, buttery dough. Ensure your baking powder is fresh, as this is the primary lifting agent that gives the scones their height. A pinch of high-quality salt is also necessary to sharpen the flavors of the cream and sugar.
When you are combining the wet and dry components, use a gentle hand and stop as soon as the dough begins to come together. Over-mixing is the enemy of tenderness, and you want to see visible bits of butter remaining in the shaggy mass before you turn it out onto your floured surface.
How to Shape Your Classic Pastry Scones
Once your dough is formed, the way you handle it will determine the final appearance of your bake. We prefer the traditional triangular cut because it allows the edges to crisp up perfectly while the center remains soft and tender. Pat the dough into a thick circle on your marble countertop, keeping the thickness to at least an inch to ensure a dramatic rise. Use a sharp knife or a bench scraper to cut the circle into eight even wedges, pressing straight down rather than sawing to keep the layers intact. If you find the dough is getting too warm or sticky during this process, do not hesitate to pop the entire tray into the fridge for fifteen minutes.
This extra step helps the scones maintain their sharp shape and prevents them from spreading too thin during the baking process. Classic Pastry Scones
Baking Tips for Classic Pastry Scones
The oven environment is where the magic finally happens for your pastry creation. We recommend baking on the middle rack to ensure even heat distribution and a perfectly golden bottom. You will know they are finished when the tops feel firm to a light touch and the edges have taken on a beautiful toasted hue. Avoid the temptation to over-bake, as the scones will continue to set slightly as they cool on the wire rack. If you want an extra touch of professional flair, brush the tops with a little extra heavy cream and a sprinkle of coarse sugar before they go into the oven.
This creates a wonderful crunch that complements the soft interior. Let them cool slightly before you even think about reaching for the glaze, as a hot scone will simply melt the icing away. Classic Pastry Scones
The Perfect Glaze for Classic Pastry Scones
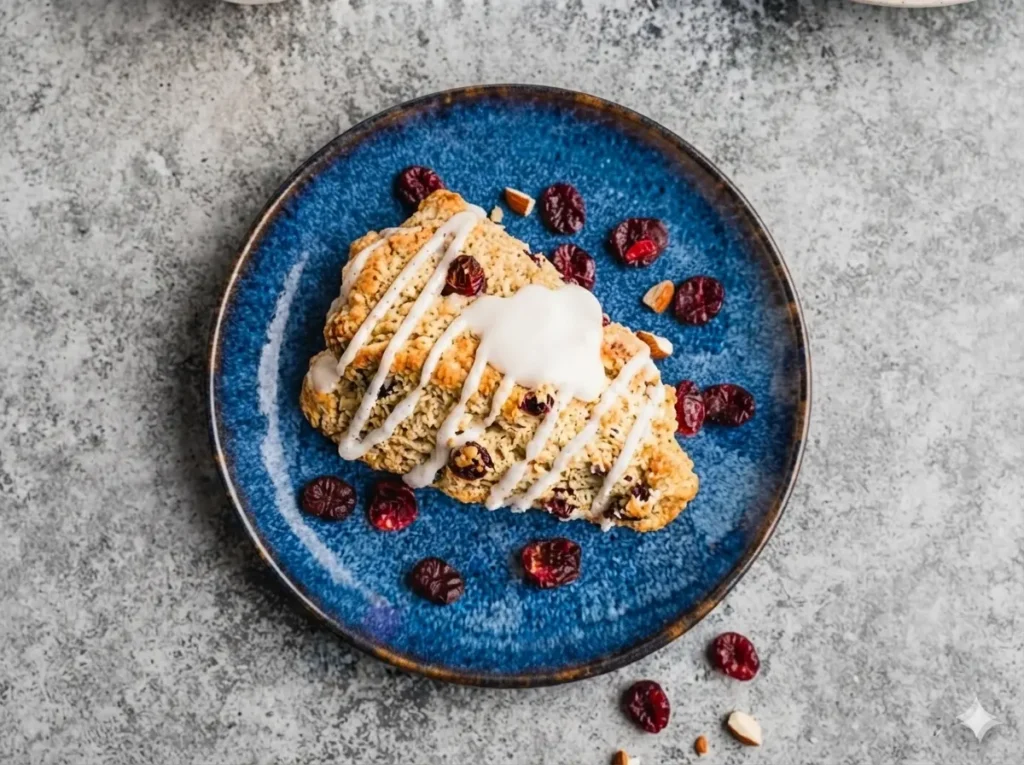
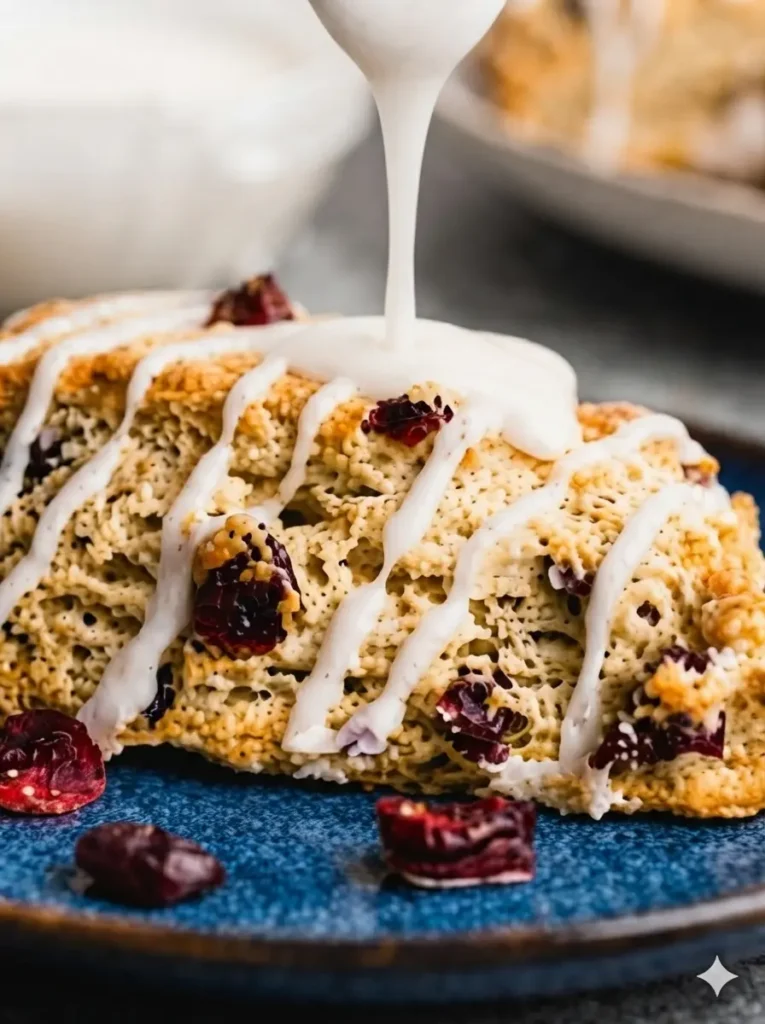
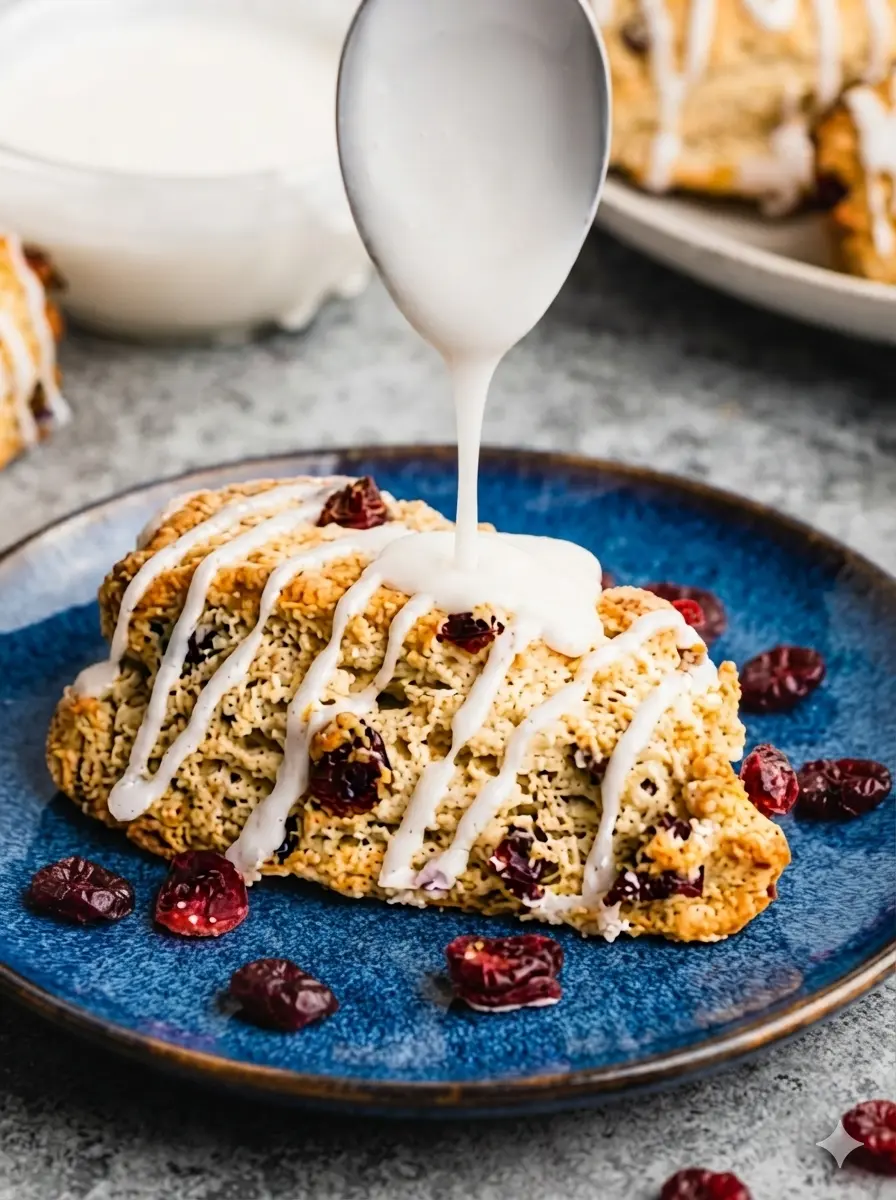
A decorative drizzle is the final touch that elevates these treats from simple biscuits to elegant pastries. The glaze should be thick enough to hold its shape but fluid enough to flow from a spoon in a steady stream. We use a simple mixture of powdered sugar, a splash of milk, and a drop of vanilla extract to create a bright white contrast against the golden pastry. To achieve the striped look seen in our kitchen, hold a spoon high above the scone and move your hand in a swift, back-and-forth motion. This creates clean, professional lines rather than a messy smudge.
Once the glaze has set, the scones are ready to be served alongside a fresh pot of tea or coffee. Now, let’s bring this memory to your kitchen… Classic Pastry Scones

Fluffy Classic Pastry Scones with Cranberries and Sweet Glaze
Course: BreakfastCuisine: AmericanDifficulty: Easy4
servings30
minutes40
minutes300
kcalTender, flaky scones packed with tart dried cranberries and finished with a sweet, iconic striped vanilla glaze.
Ingredients
2 cups all-purpose flour
1/2 cup granulated sugar
1 tablespoon baking powder
1/2 teaspoon salt
1/2 cup cold unsalted butter, cubed
1/2 cup heavy cream, plus more for brushing
1 large egg
1 teaspoon vanilla extract
1/2 cup dried cranberries
1 cup powdered sugar (for glaze)
2 tablespoons milk (for glaze)
Directions
- Preheat your oven to 400°F (200°C) and line a baking sheet with parchment paper.
- Whisk together flour, sugar, baking powder, and salt in a large bowl. Cut in the cold butter using a pastry cutter until the mixture resembles coarse crumbs.
- In a separate small bowl, whisk the egg, heavy cream, and vanilla. Pour this into the dry ingredients along with the cranberries and stir until just combined.
- Turn dough onto a floured marble surface and pat into a 1-inch thick disc. Cut into 8 wedges and place on the prepared baking sheet.
- Bake for 15-18 minutes until golden brown. Once cool, whisk powdered sugar and milk to create a thick glaze and drizzle over the scones in a striped pattern.
Notes
- Always use cold butter directly from the fridge or freezer.
- Do not overwork the dough; handle it as little as possible.
- The glaze should be thick like glue to get the perfect stripes.